Keycloak Assistant
For creating users or managing them programmatically, you can use the AI/Run CodeMie Keycloak Manager. This is a powerful system agent that interacts directly with your Keycloak instance.
The process involves a one-time setup to create a secure connection, followed by instructions on how to use the assistant.
Prerequisites
Before you begin, ensure you meet the following requirements:
-
Platform Administrator: You must have a fully configured administrator account. If you do not have one, please complete Option A: Create Users Manually and then all the steps in Part 2: User Authorization before proceeding.
-
Repository Access: You must have access to the codemie-helm-charts repository.
Keycloak Assistant Setup
The Keycloak Assistant is disabled by default. First, you need to enable it.
1. Locate the codemie-api/values-<cloud>.yaml file for your environment.
2. Inside this file, find the preconfigured_assistants section within the codemie-custom-customer-config ConfigMap definition.
3. Set enabled: true for the keycloak-manager assistant, as shown below:
extraObjects:
  - apiVersion: v1
    kind: ConfigMap
    metadata:
      name: codemie-custom-customer-config
    data:
      customer-config.yaml: |
        ---
        # ... other components
        preconfigured_assistants:
          # ... other assistants
          - id: "keycloak-manager"
            settings:
              enabled: true
          # ... other assistants
4. Apply the configuration change by redeploying the codemie-api:
bash helm-charts.sh --cloud <cloud> --version x.y.z --mode recommended
5. Restart the codemie deployment to apply the changes immediately:
kubectl rollout restart deployment/codemie -n codemie
6. Create a secret in a oauth2-proxy namespace:
kubectl create secret generic keycloak-assistant \
    --namespace=oauth2-proxy \
    --from-literal=client-id="keycloak-assistant" \
    --from-literal=client-secret="$(openssl rand -base64 12)" \
    --type=Opaque
7. Add the following KeycloakClient object to the oauth2-proxy chart values-<cloud>.yaml:
extraObjects:
  - apiVersion: v1.edp.epam.com/v1
    kind: KeycloakClient
    metadata:
      name: keycloak-assistant
      annotations:
        edp.epam.com/preserve-resources-on-deletion: 'true'
    spec:
      advancedProtocolMappers: true
      clientAuthenticatorType: client-secret
      secret: '$keycloak-assistant:client-secret'
      clientId: keycloak-assistant
      defaultClientScopes:
        - profile
        - email
        - codemie
      enabled: true
      directAccess: false
      fullScopeAllowed: true
      protocolMappers:
        - config:
            access.token.claim: 'false'
            claim.name: roles
            id.token.claim: 'true'
            multivalued: 'true'
            userinfo.token.claim: 'true'
          name: roles
          protocol: openid-connect
          protocolMapper: oidc-usermodel-realm-role-mapper
      realmRef:
        kind: KeycloakRealm
        name: codemie-prod
      standardFlowEnabled: true
      serviceAccount:
        enabled: true
        realmRoles:
          - default-roles-codemie-prod
        clientRoles:
          - clientId: realm-management
            roles:
              - manage-clients
              - manage-events
              - manage-identity-providers
              - create-client
              - manage-authorization
              - manage-realm
              - manage-users
              - query-clients
              - query-groups
              - query-realms
              - query-users
              - realm-admin
              - view-authorization
              - view-clients
              - view-events
              - view-identity-providers
              - view-realm
              - view-users
8. Apply the configuration change by redeploying the oauth2-proxy chart:
bash helm-charts.sh --cloud <cloud> --version x.y.z --mode recommended
9. Restart the oauth2-proxy deployment:
kubectl rollout restart deployment/oauth2-proxy -n oauth2-proxy
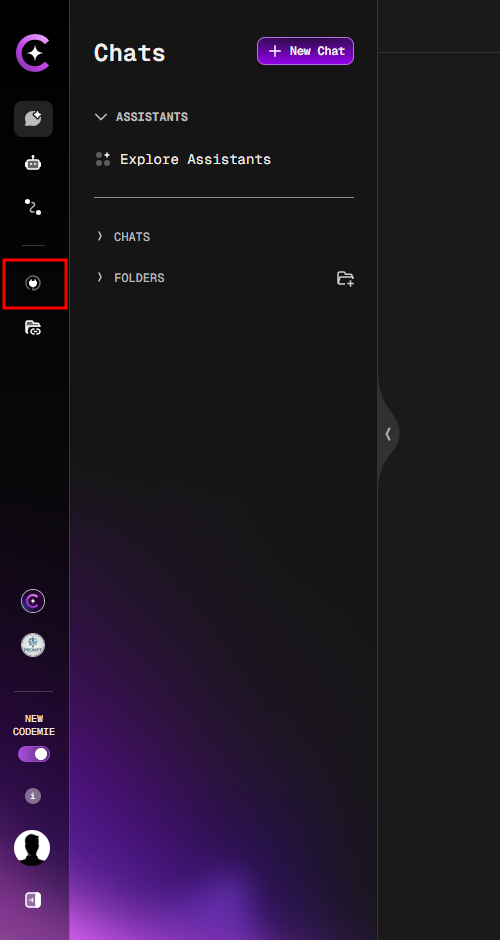
10. As a platform admin, open the AI/Run CodeMie UI and navigate to the Integrations tab.
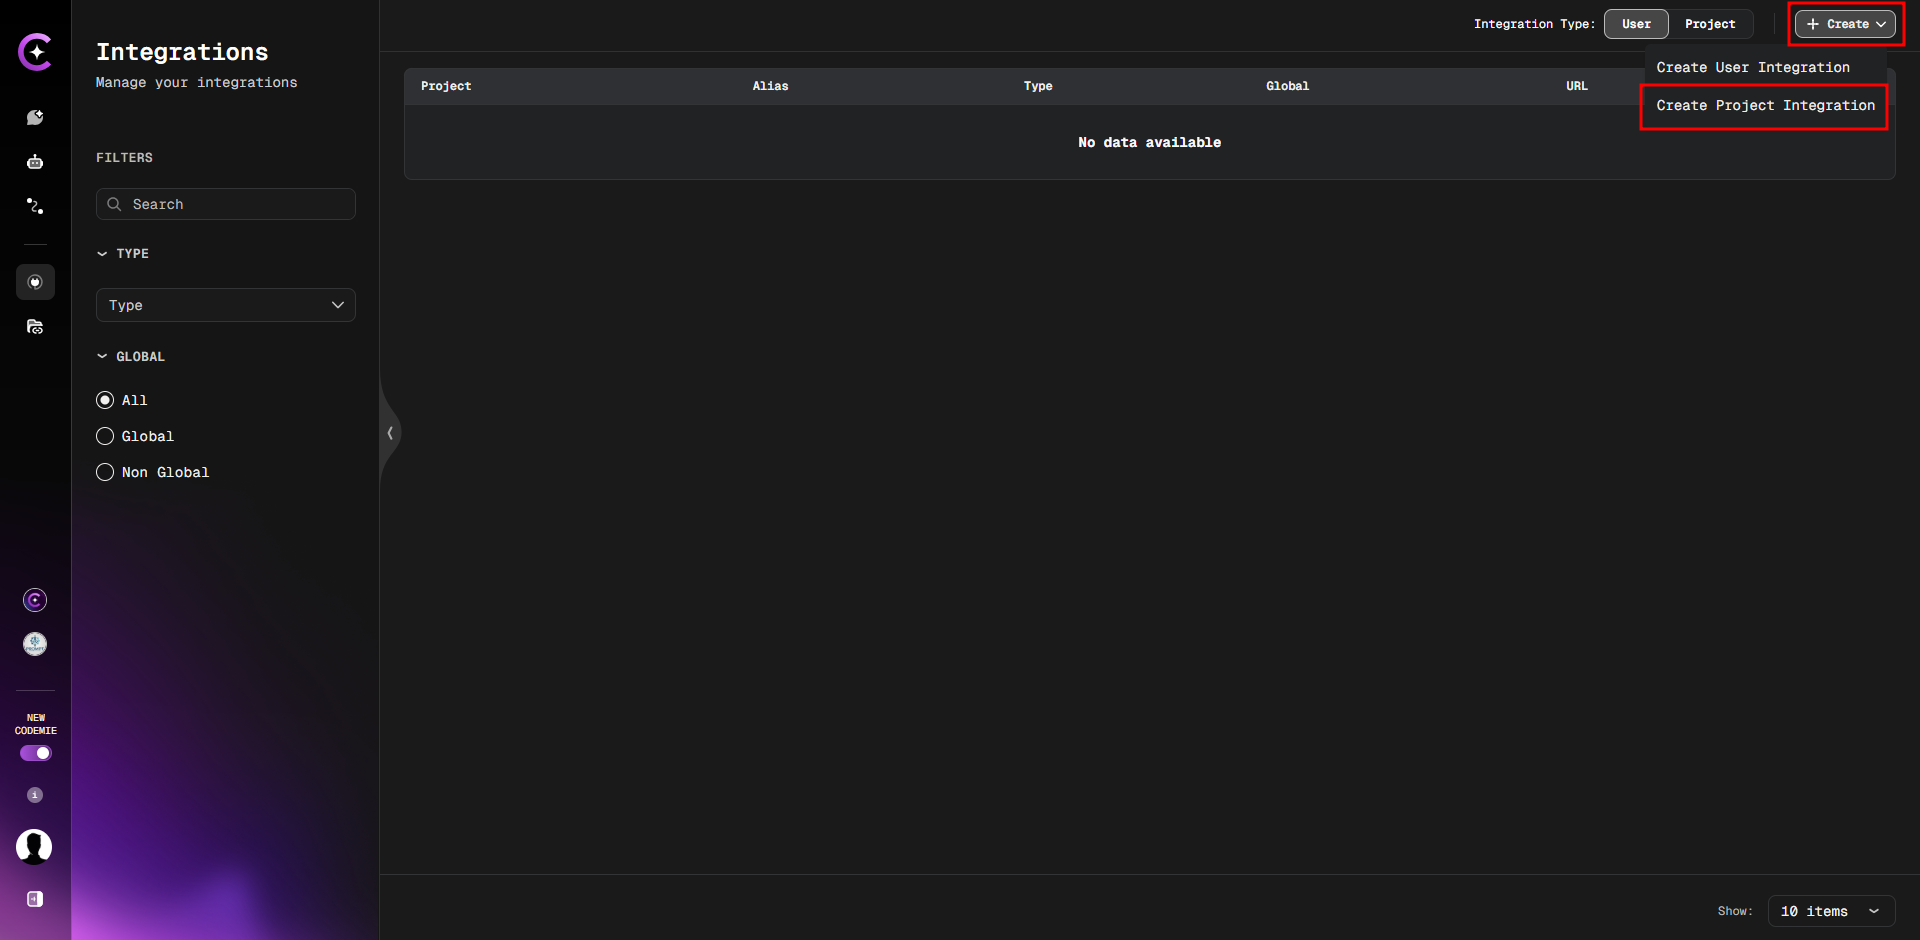
11. Click the Create button in the top right corner and select Create Project Integration.
12. Fill in the required fields:
- Project:
codemie
Note: The codemie project is pre-existing. You do not need to create it. Simply start typing "cod" in the field, and it will appear in the dropdown list.
-
Type:
Keycloak -
Alias:
keycloak-assistant -
URL:
https://keycloak.example.com
Pay attention that newer Keycloak versions might not include the /auth path in their endpoint URL.
-
Realm:
codemie-prod -
ClientID:
keycloak-assistant -
ClientSecret: (Paste the secret here)
To get the ClientSecret, run this command:
kubectl get secret keycloak-assistant -n oauth2-proxy -o jsonpath="{.data.client-secret}" | base64 --decode
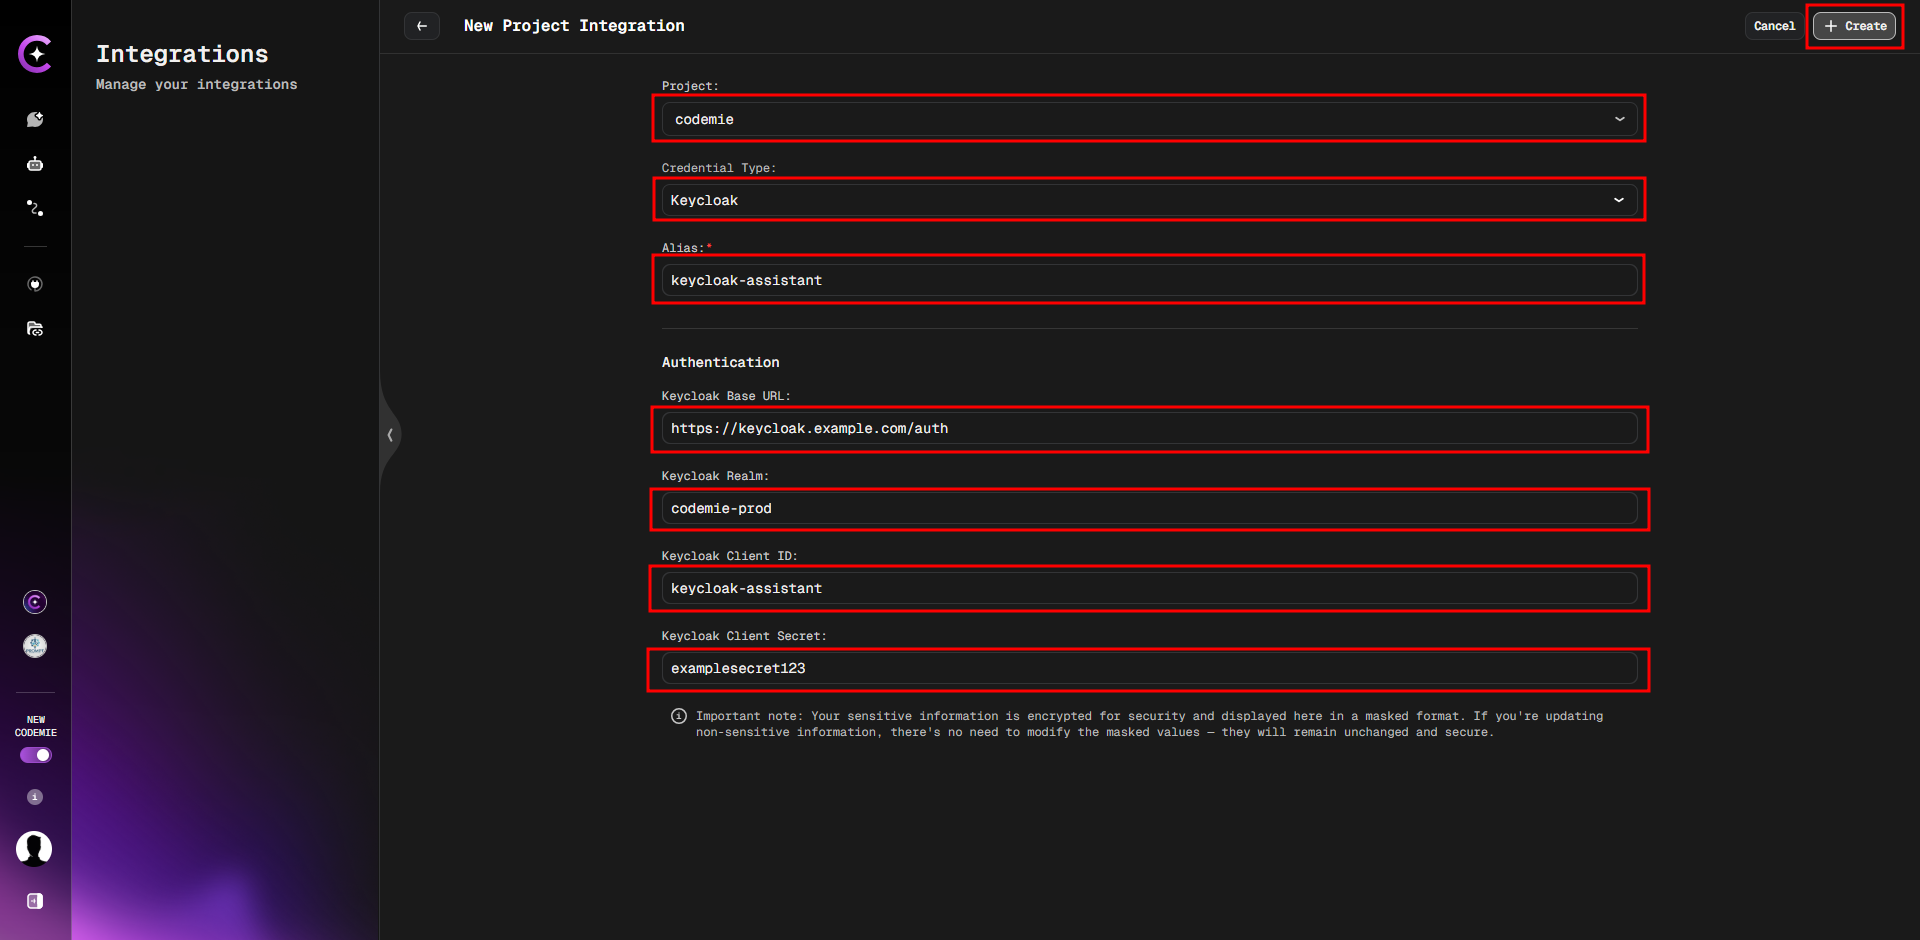
13. Click the Create button to save the integration.
Keycloak Assistant Usage
The process of using the assistant involves three main stages: initiating the chat, creating the users, and then setting their initial passwords in Keycloak.
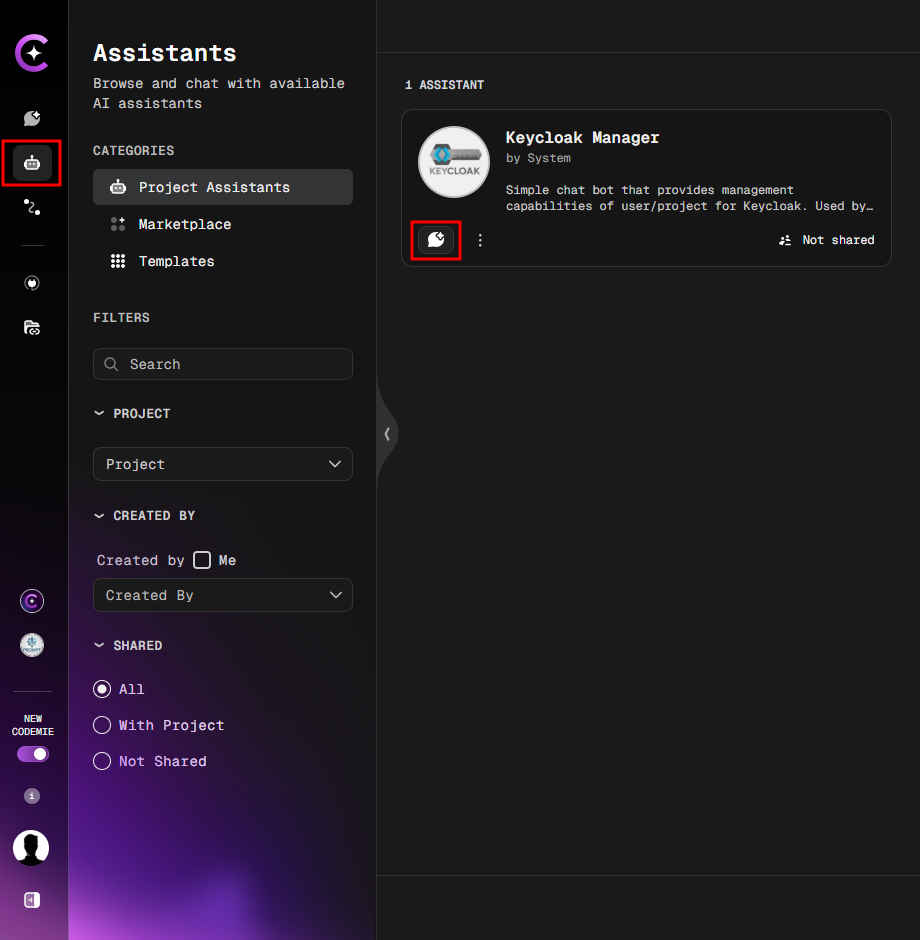
1. Start a Chat with the Keycloak Manager
Navigate to the Assistants tab and click the Start chat button for the Keycloak Manager.
2. Create Users with a Prompt
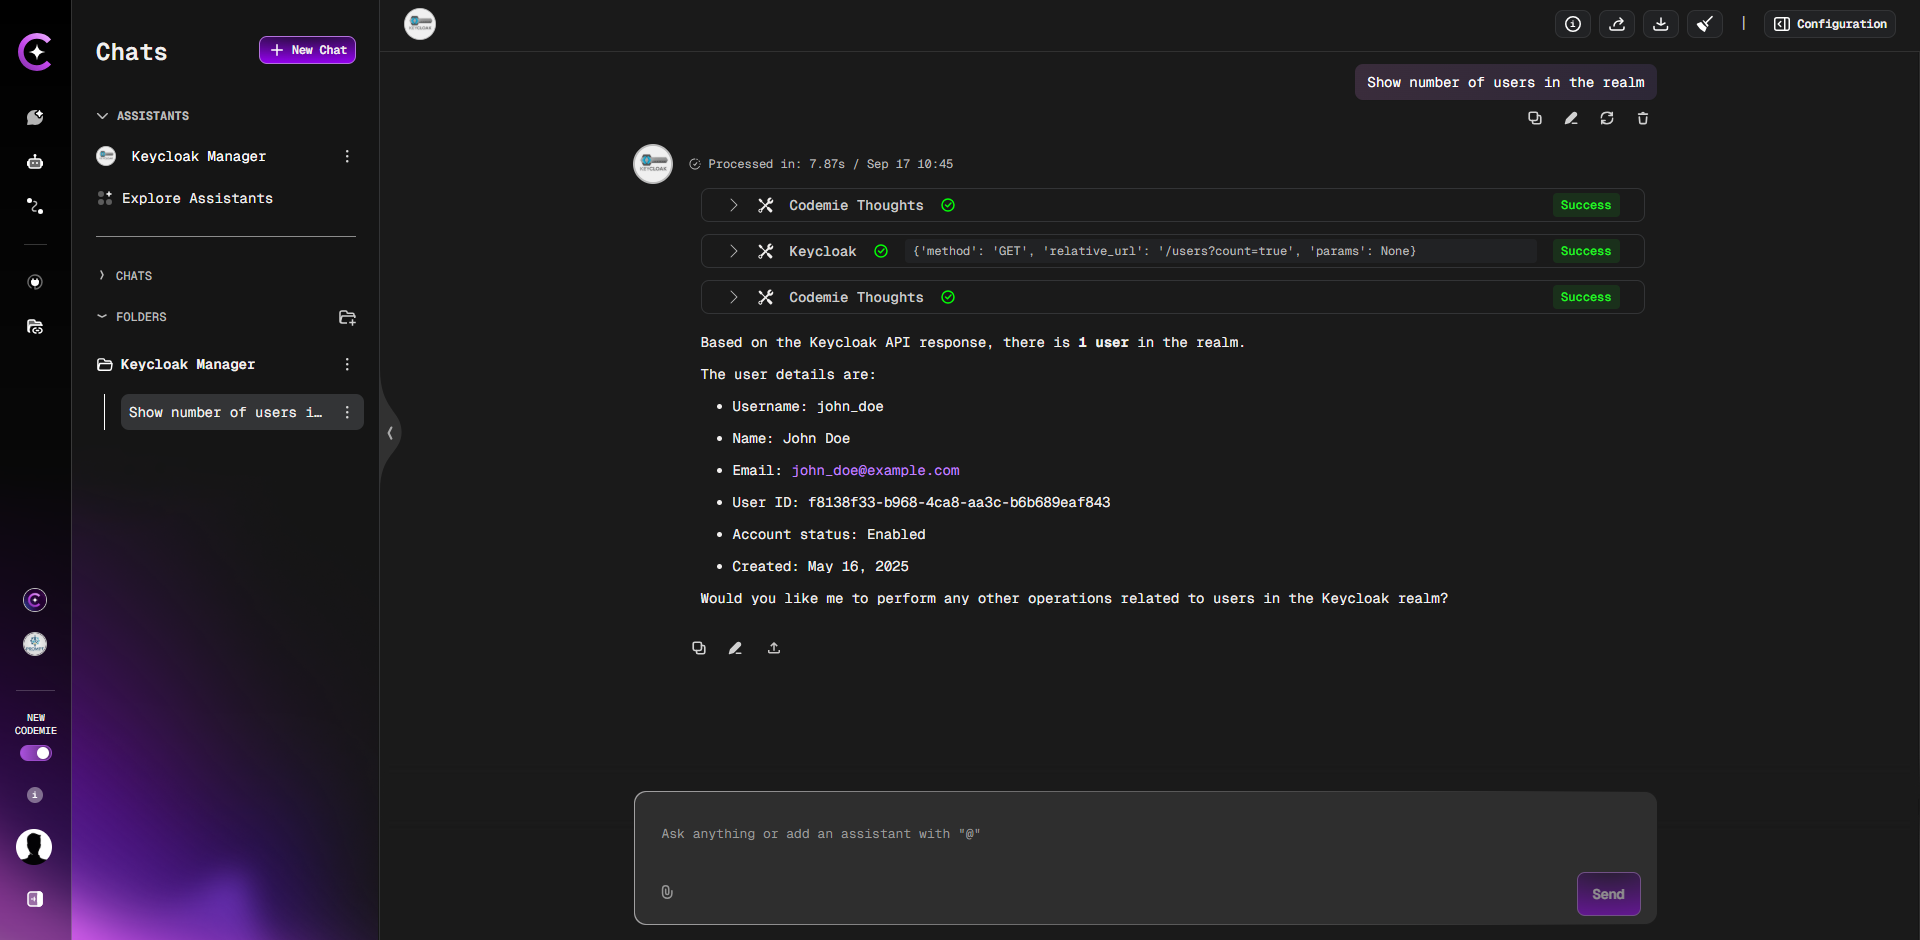
First, verify the connection with a simple prompt like Show number of users in the realm.
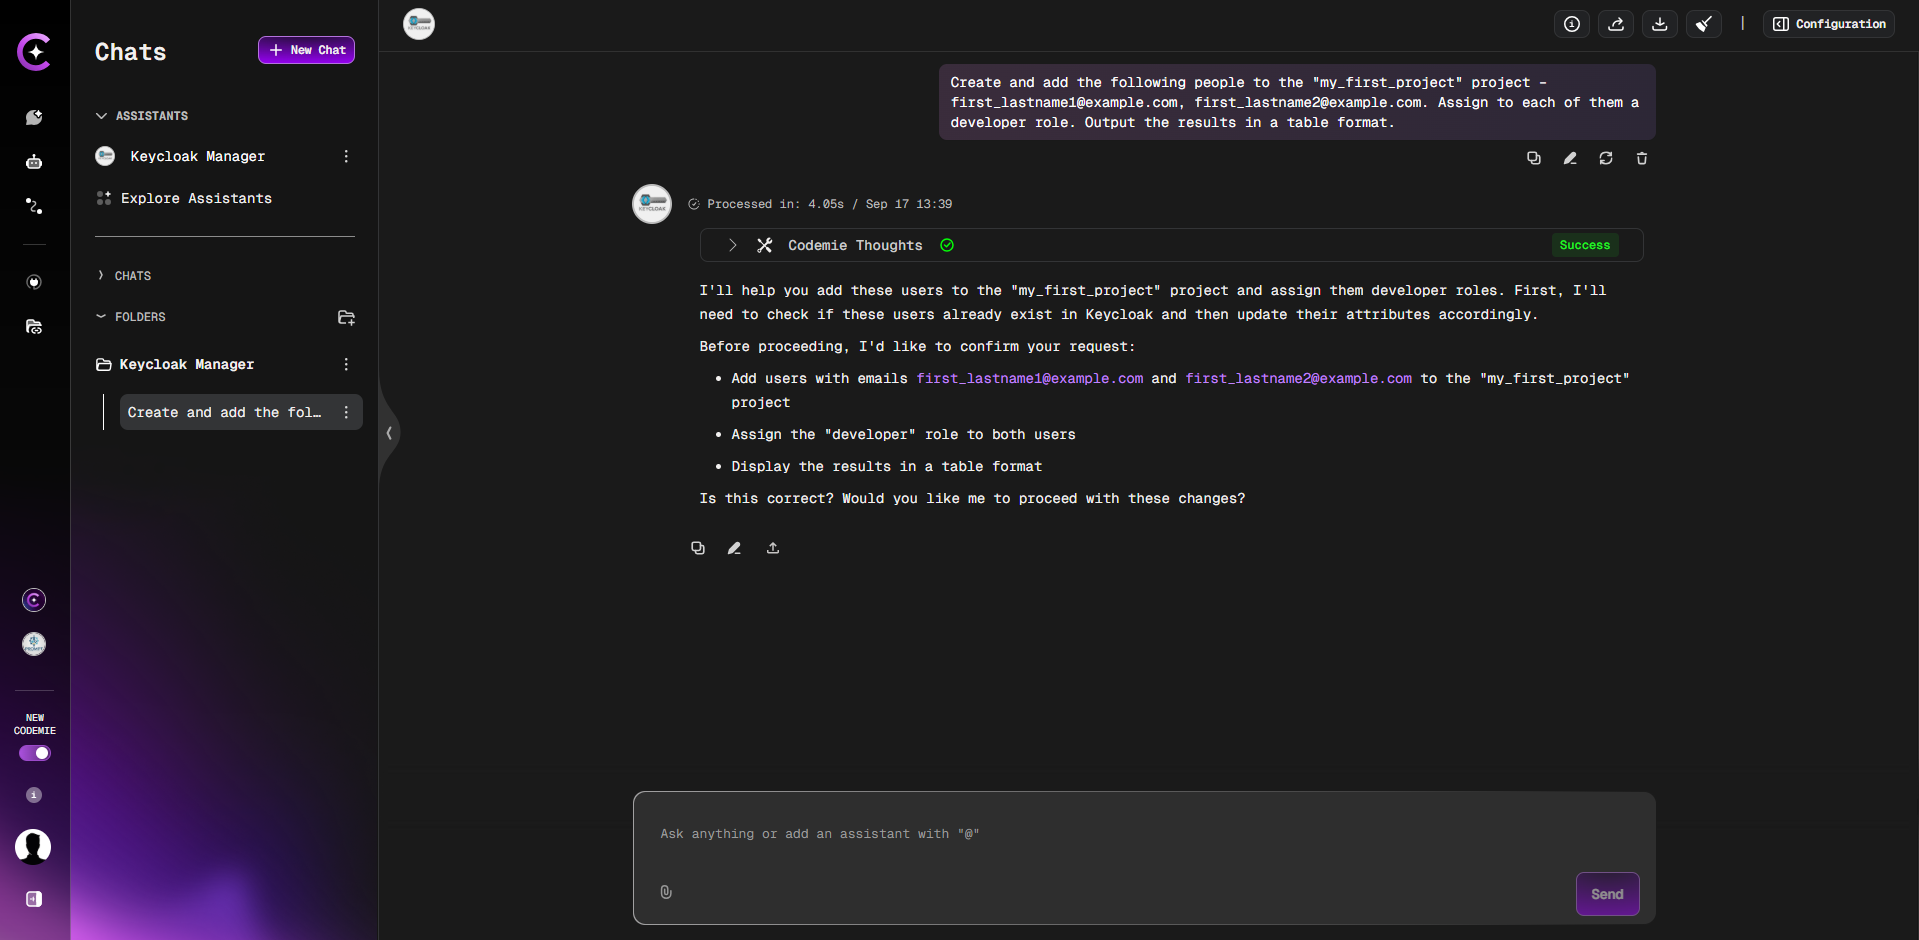
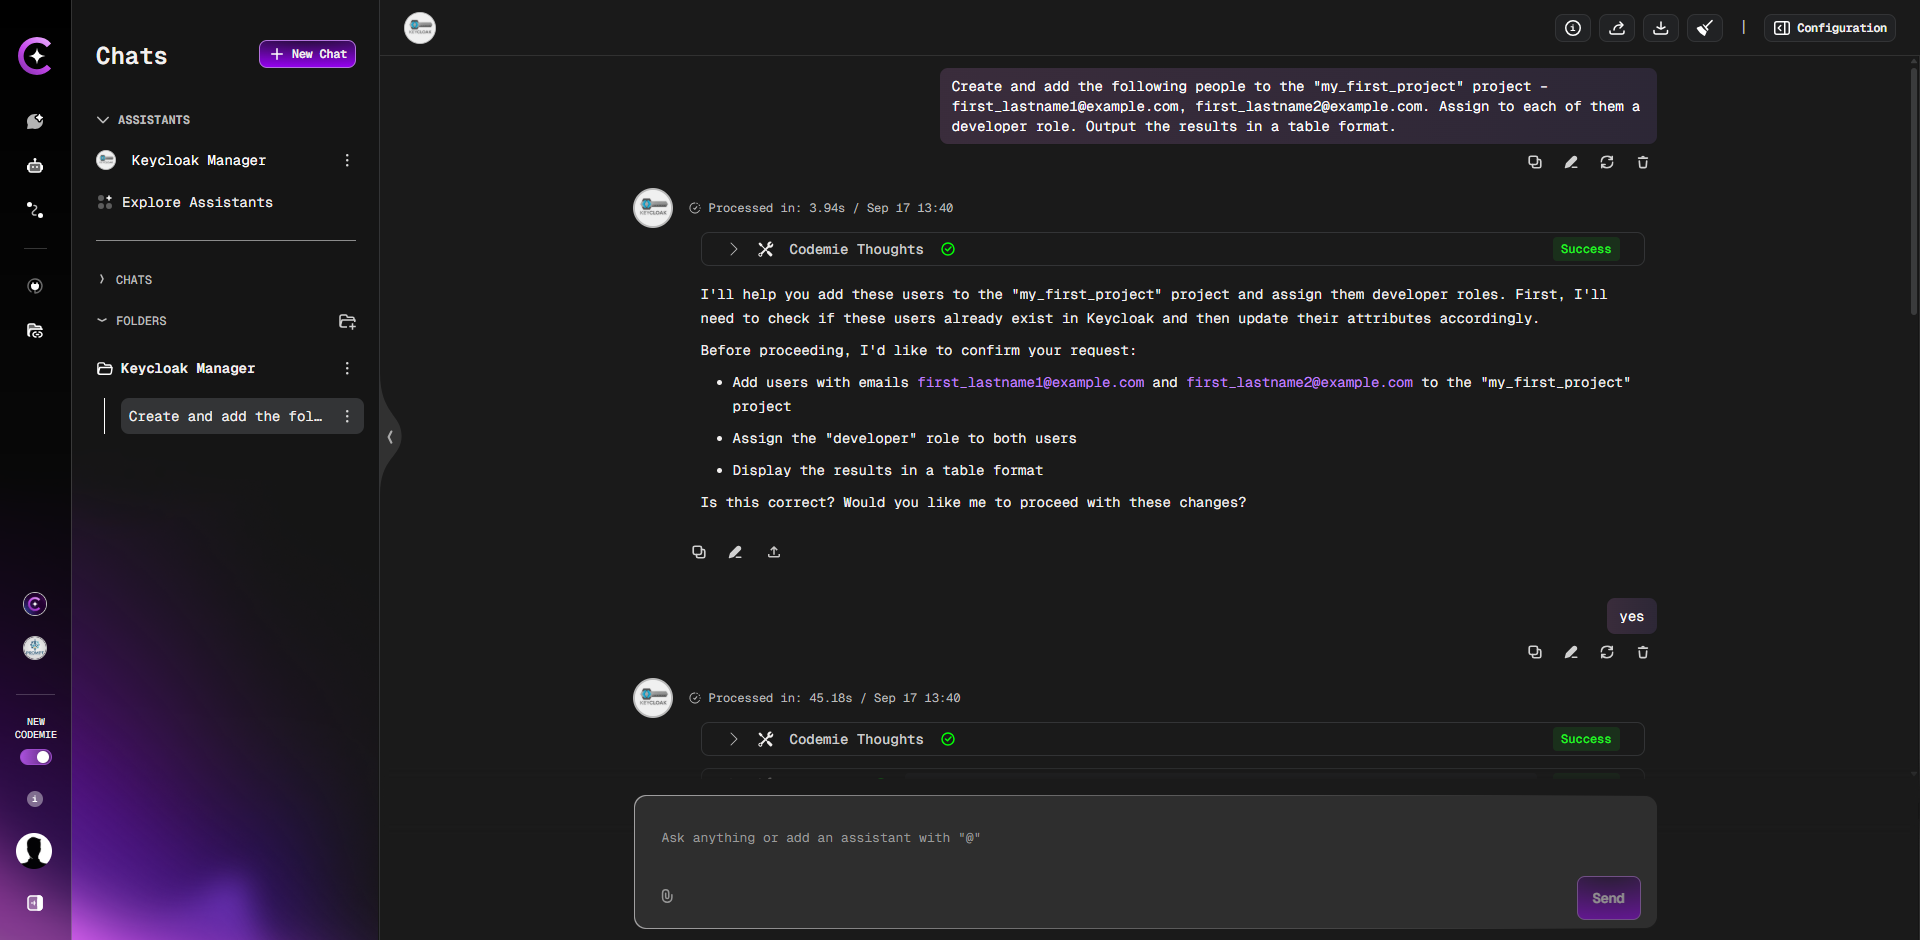
Next, use a clear, structured prompt to create users in bulk. You can specify the project, user emails, and roles all in one command. The assistant will create the users but will not set their passwords.
Create and add the following people to the "project_name" project – first_lastname1@example.com, first_lastname2@example.com. Assign to each of them the developer role. Output the results in a table format.
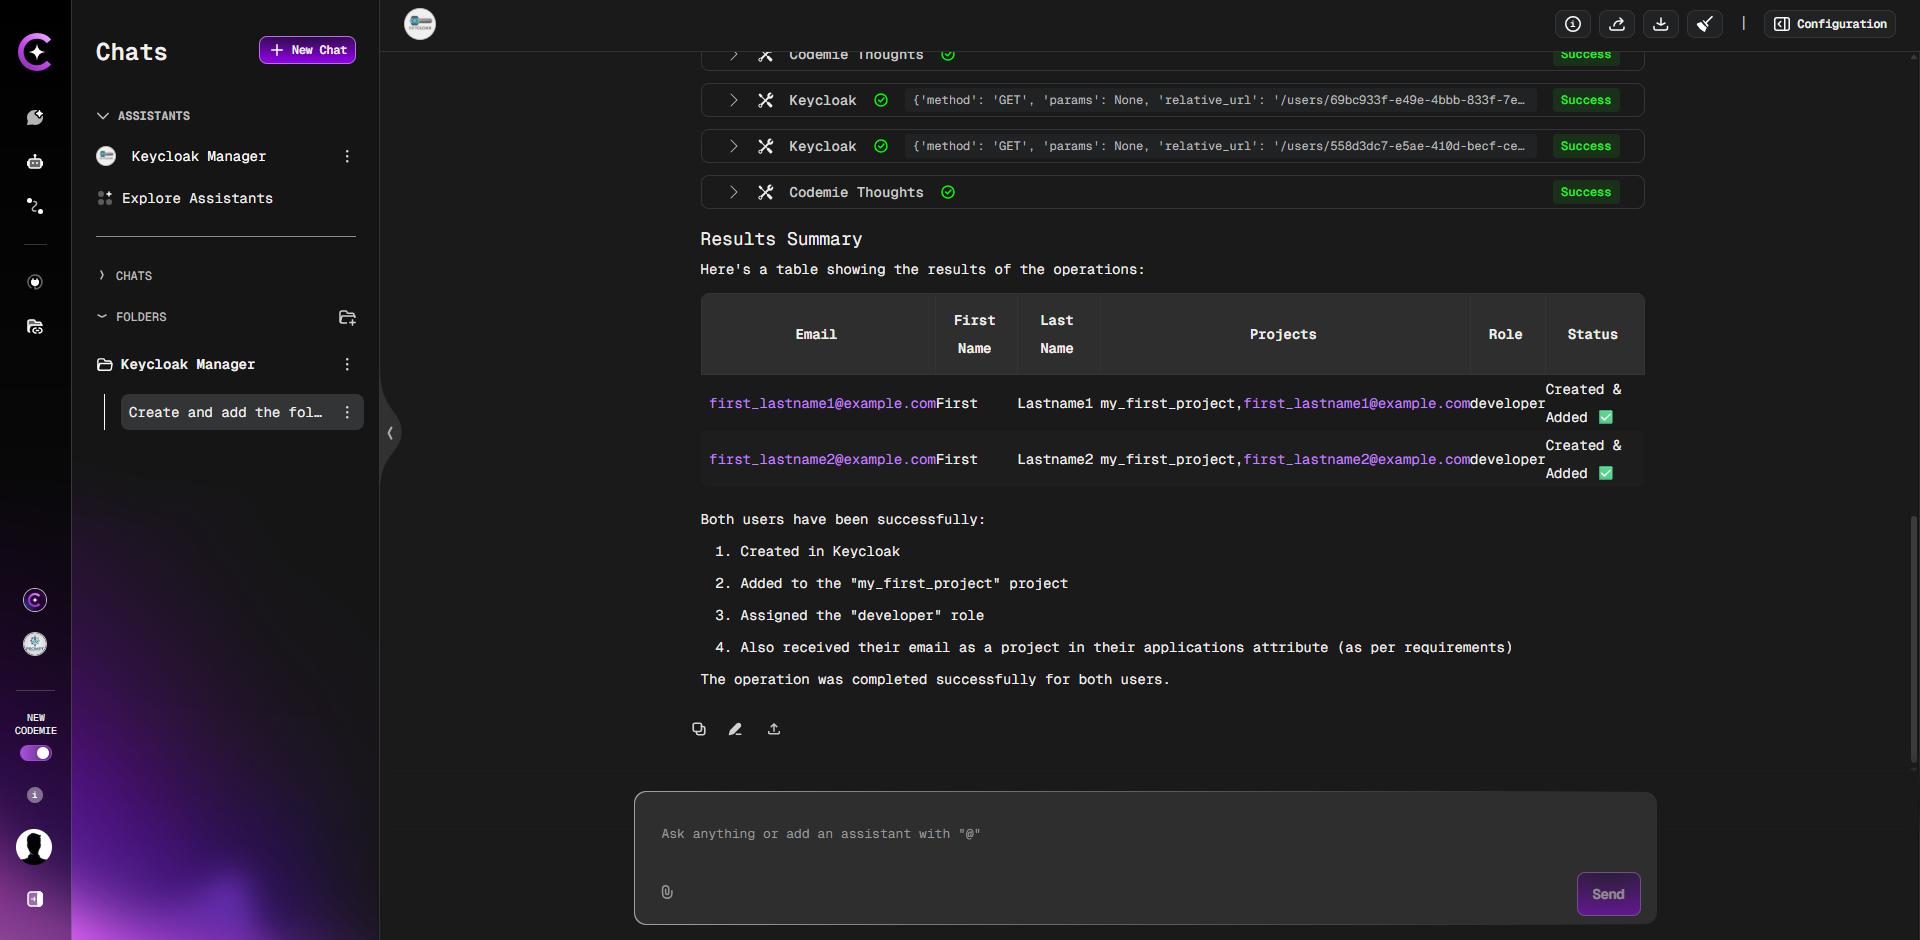
3. Set Passwords and Finalize
After the assistant confirms the users have been created, you must manually set their initial passwords in Keycloak.
- Verify that the new users appear in the Keycloak UI under the Users section.
- For each new user, follow the instructions in the Set User Credentials section (under Option A) to set their temporary password.
- Securely share the login information and temporary passwords with the new users.
After creating a user, proceed to Part 2: User Authorization to assign the necessary permissions.