Keycloak + Entra ID
If your organization uses Microsoft Entra ID, you can configure it as an Identity Provider in Keycloak. This will allow users to sign in to AI/Run CodeMie with their corporate credentials.
The process is divided into two main stages: configuring the application in Azure, and then connecting it to Keycloak.
Stage 1: Entra ID Configuration
1. Navigate to App Registrations
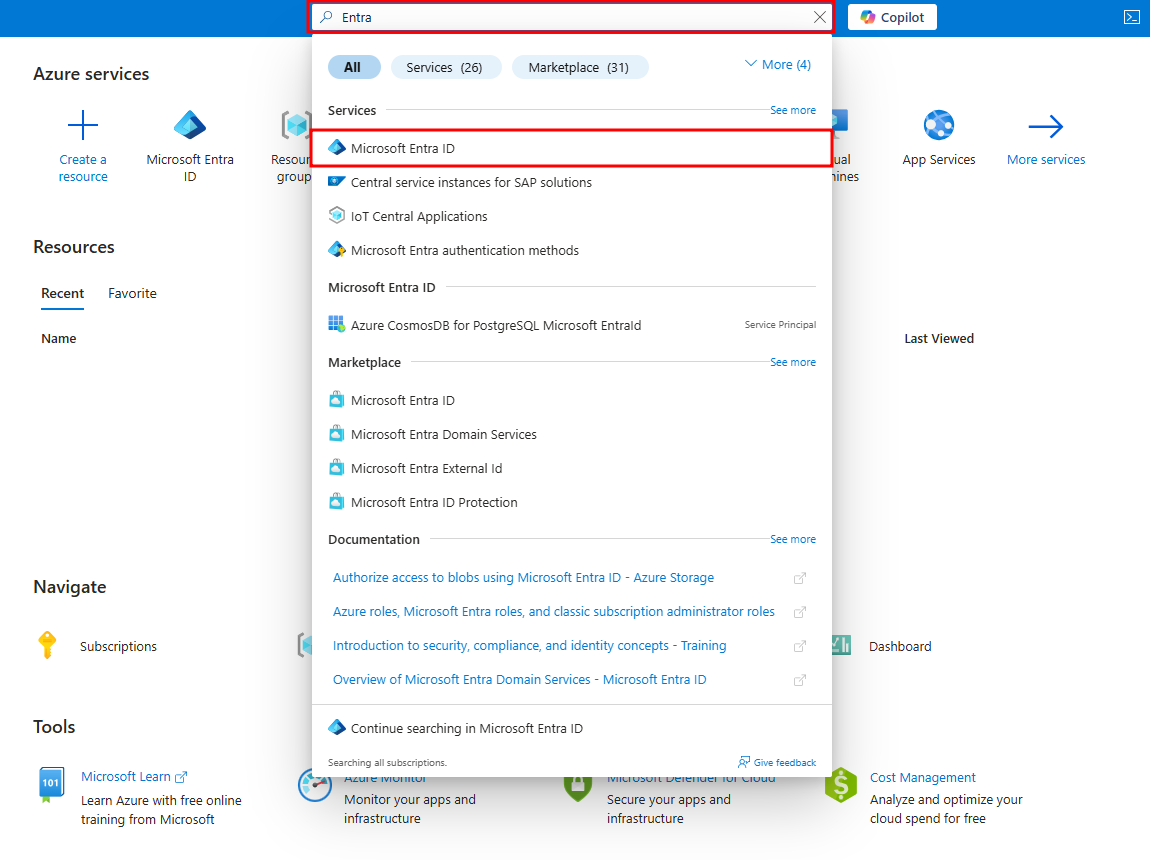
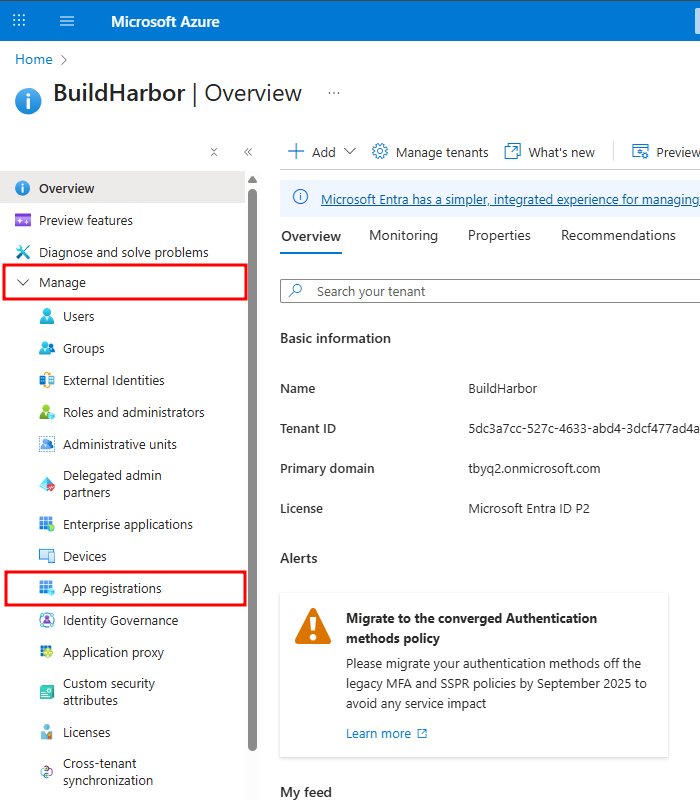
Log in to the Azure portal, go to Microsoft Entra ID, and select App registrations from the Manage side menu.
2. Create New Registration
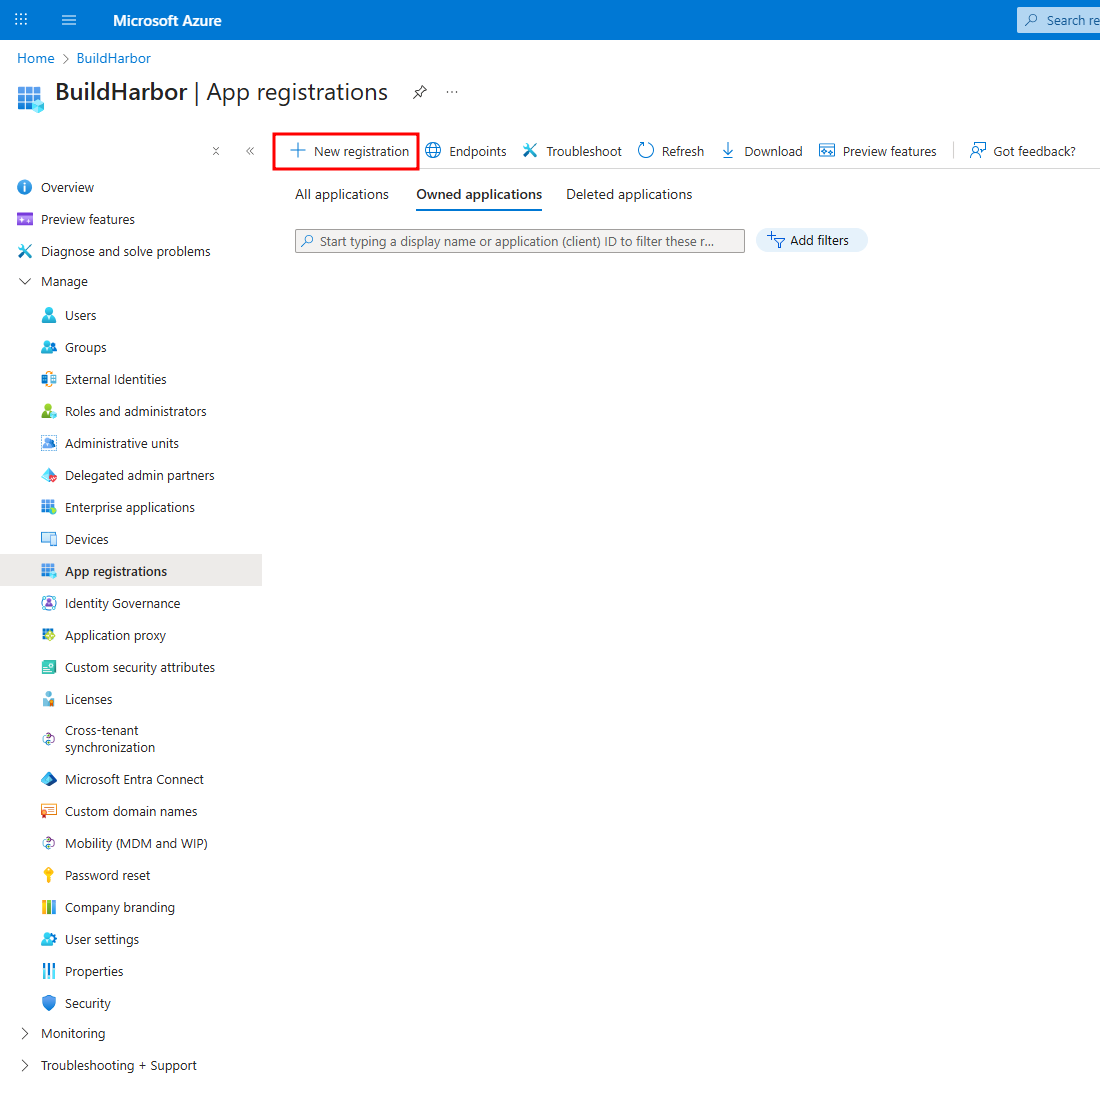
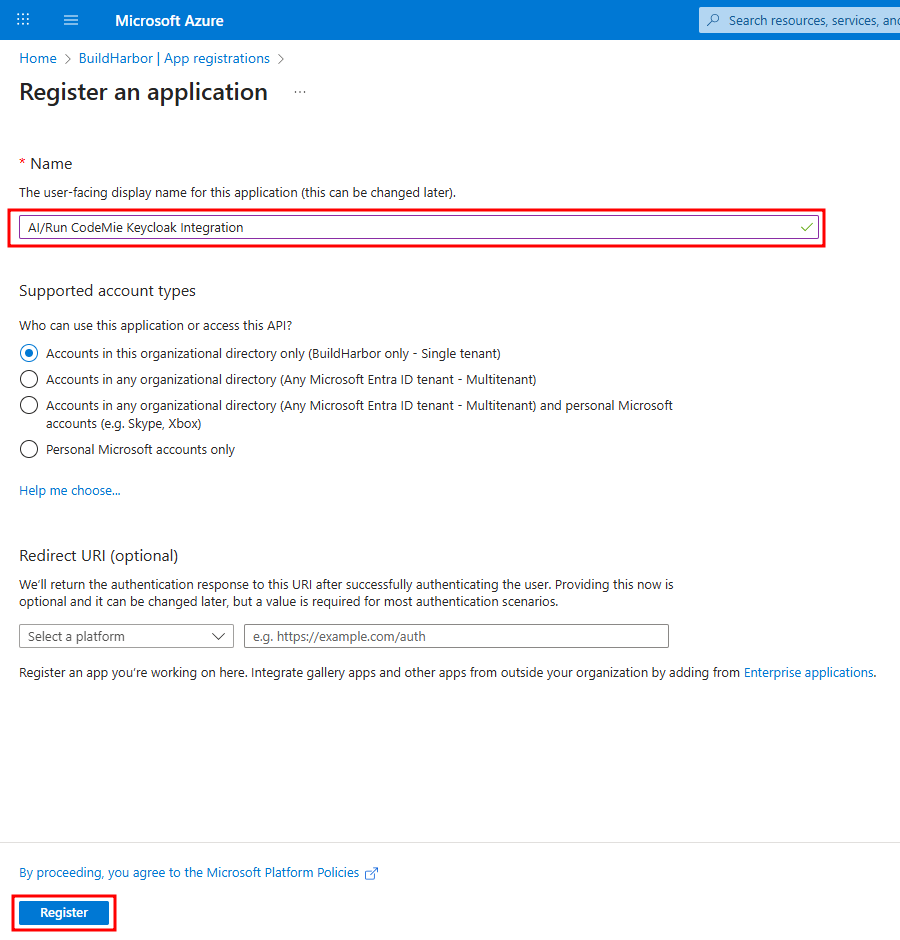
Click New registration. Provide a descriptive Name (e.g., AI/Run CodeMie Keycloak Integration), and click Register. You can leave the "Redirect URI" blank for now.
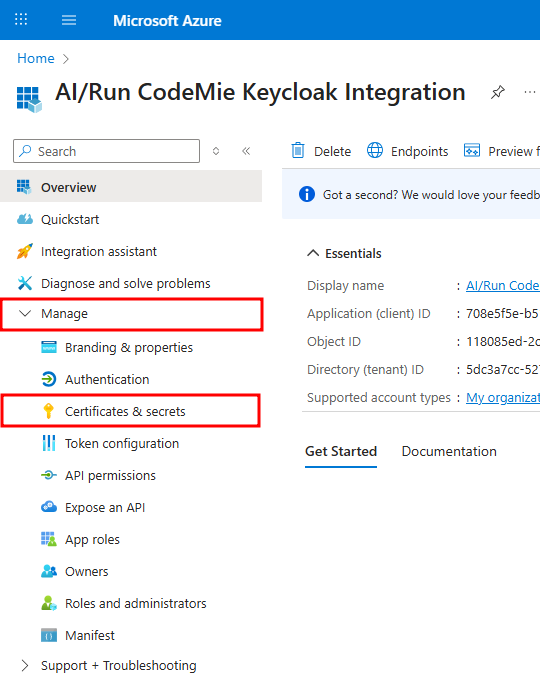
3. Create Client Secret
From the app's side menu, navigate to Certificates & secrets and click New client secret.

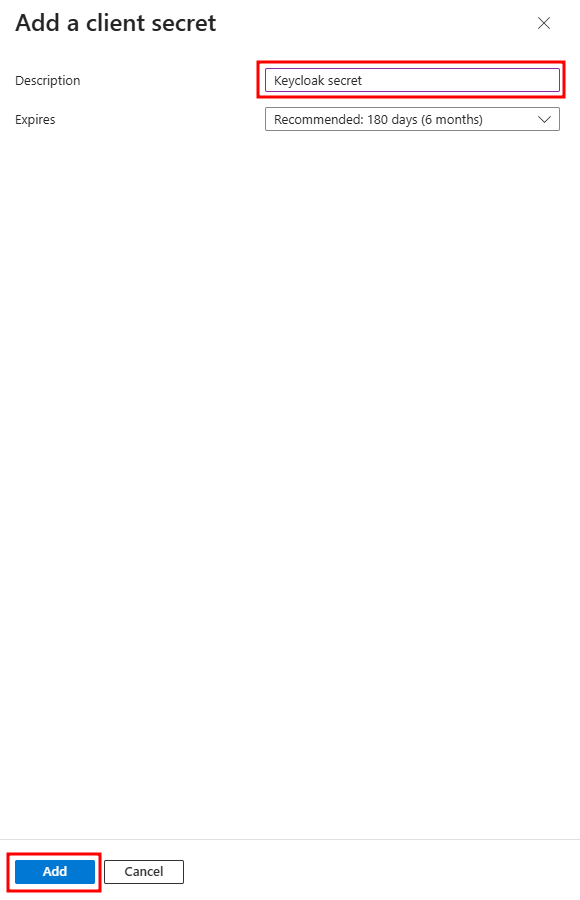
4. Save the Client Secret Value
Give the secret a Description (e.g., Keycloak Secret) and click Add.
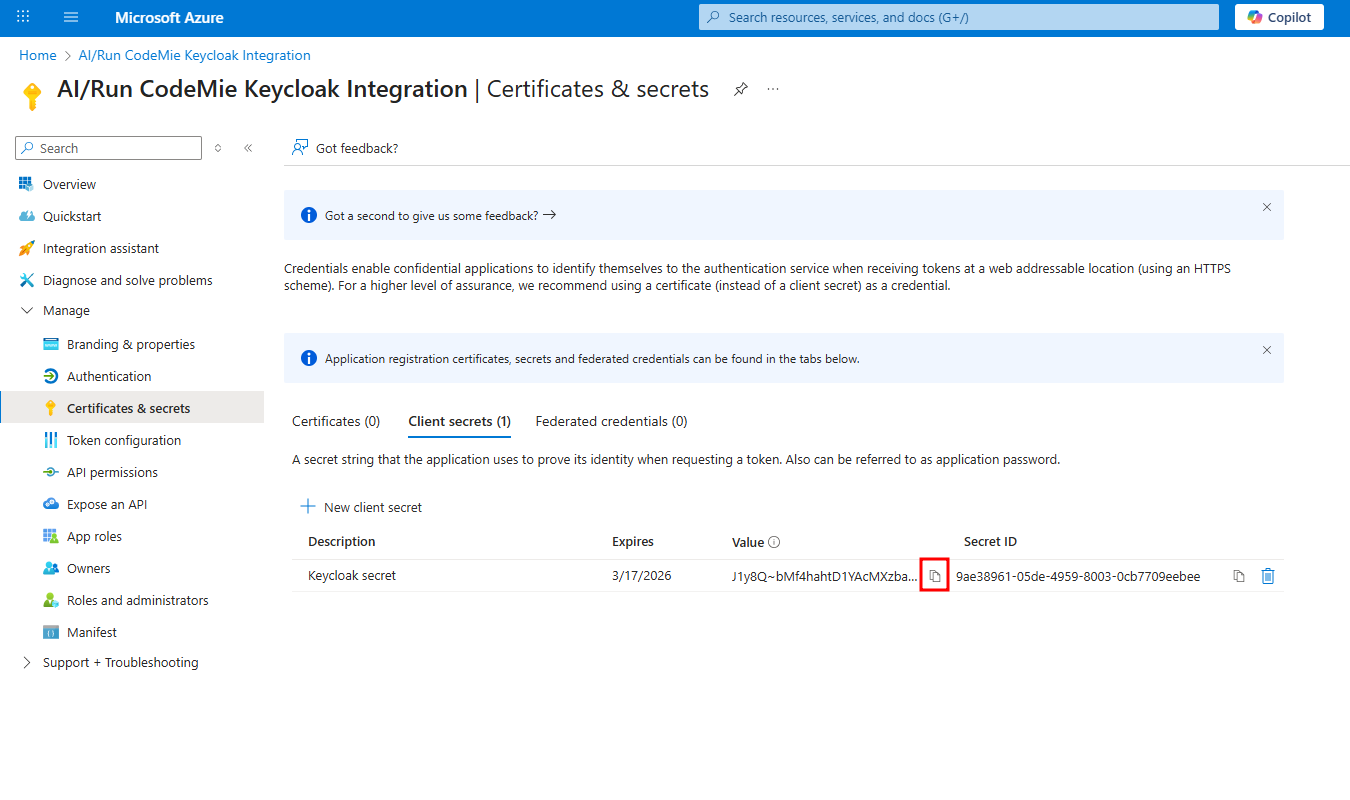
The client secret Value is only visible once, immediately after creation. Copy it and save it in a secure location; you will need it for the Keycloak configuration.
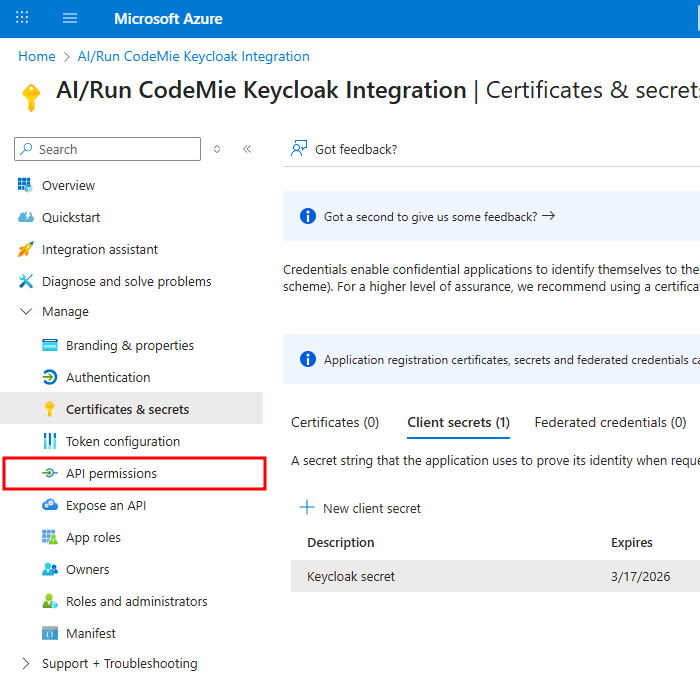
5. Verify API Permissions
Navigate to the API permissions tab. Ensure that the User.Read permission for Microsoft Graph (Type: Delegated) is present. This is usually added by default.
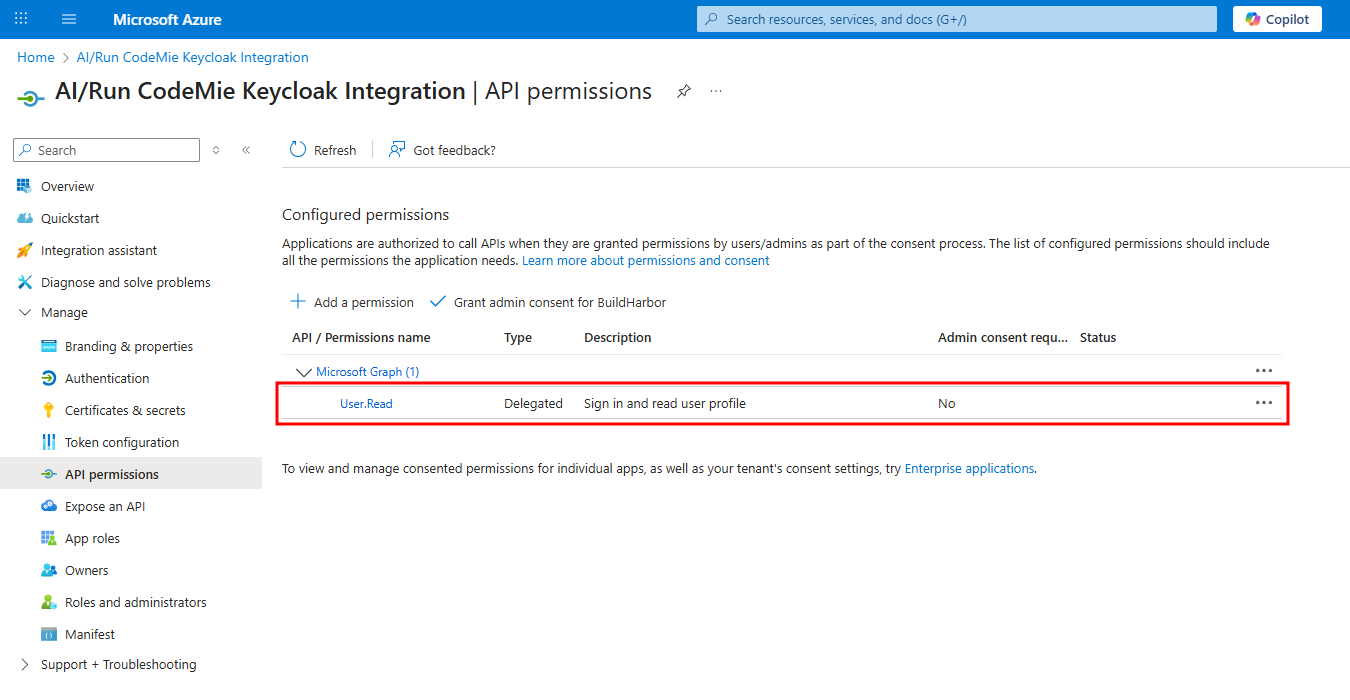
Keep the Azure portal tab open, as you will need to return to it.
Stage 2: Keycloak Configuration
This stage involves connecting your Entra ID application to Keycloak and automating permission assignment for new users.
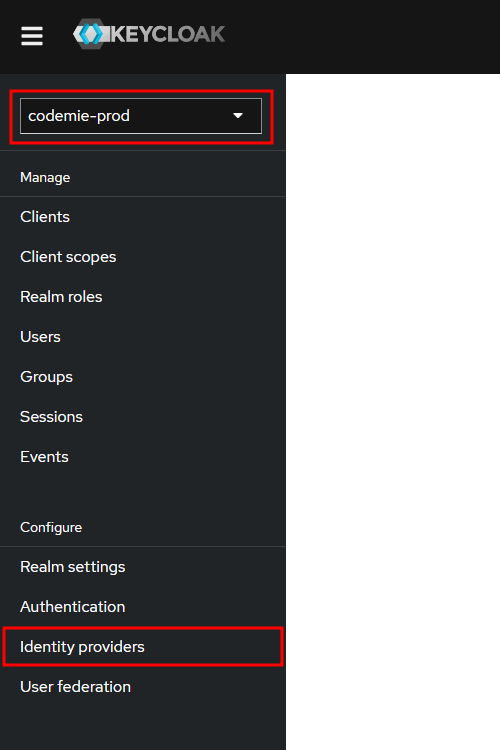
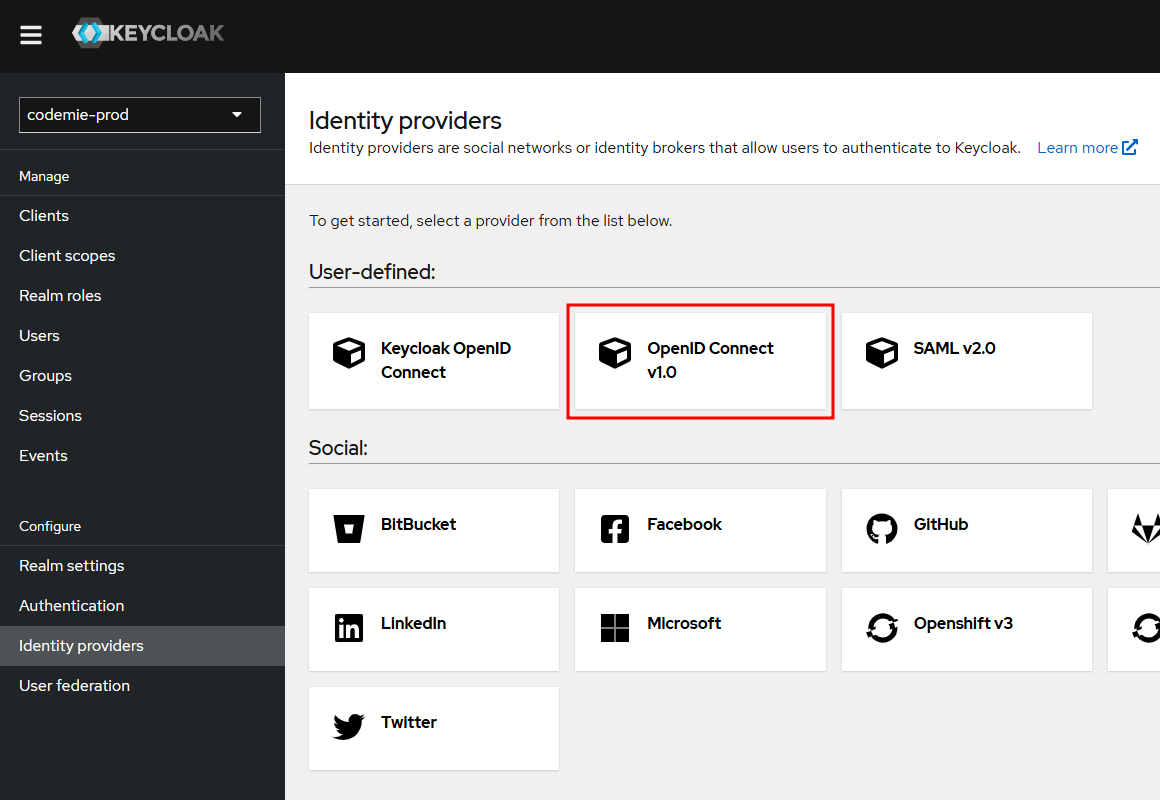
1. Add the Identity Provider
First, in your codemie-prod realm, navigate to Identity Providers and select OpenID Connect v1.0.
2. Configure the Provider Details
Before filling in the fields, gather the required information from your Azure app registration.
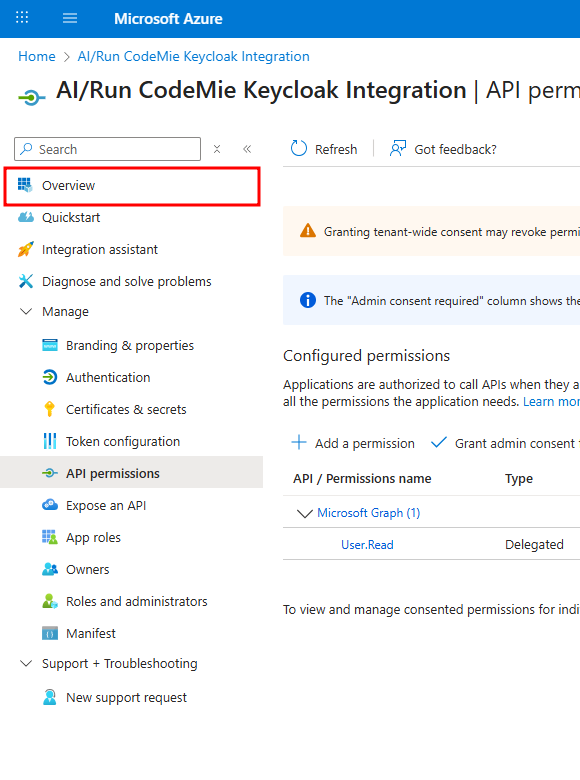
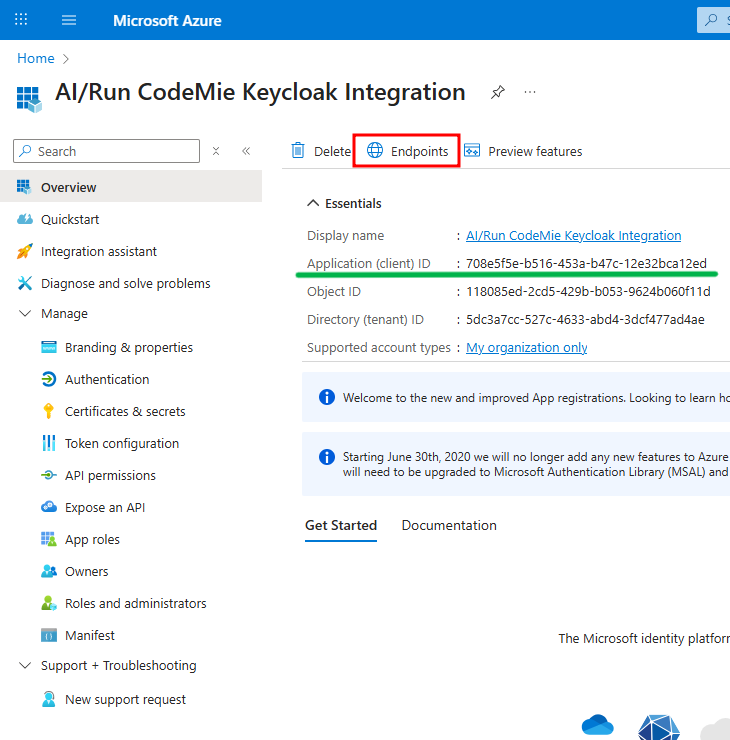
In the Azure portal, navigate to your app registration:
- The Application (client) ID is available on the main Overview page.
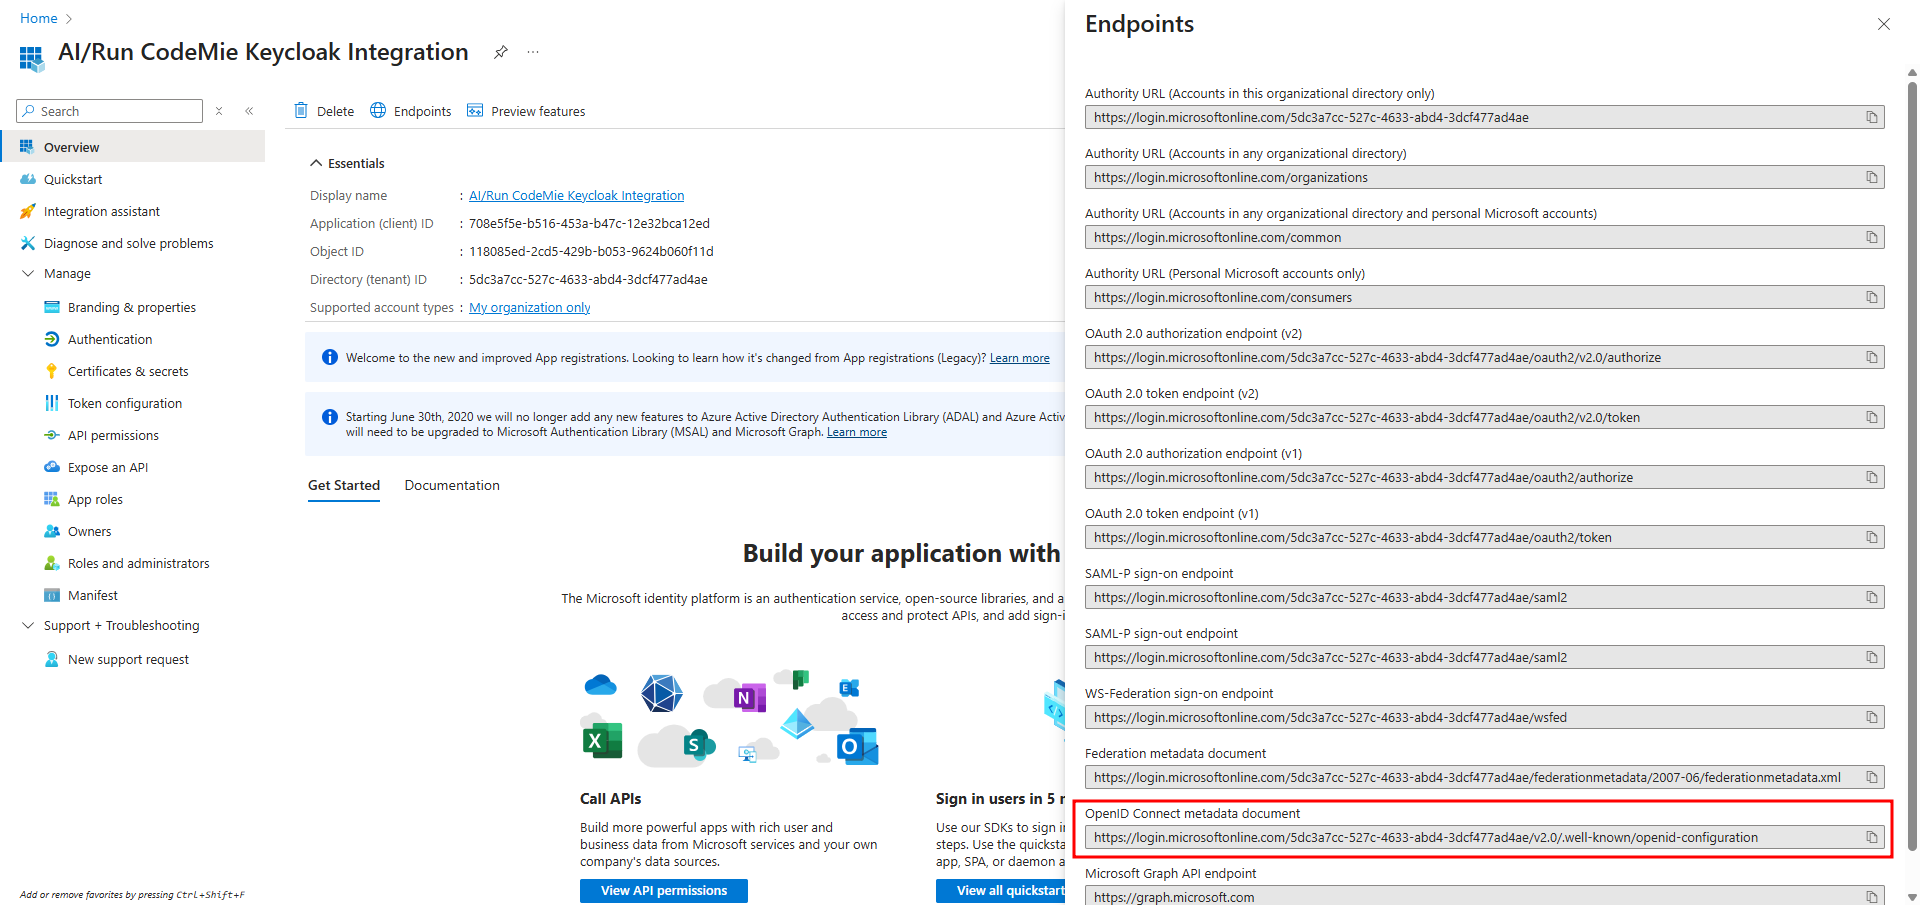
- Click on Endpoints to find the OpenID Connect metadata document URL.
- The Client Secret Value is the one you copied and saved in Stage 1.
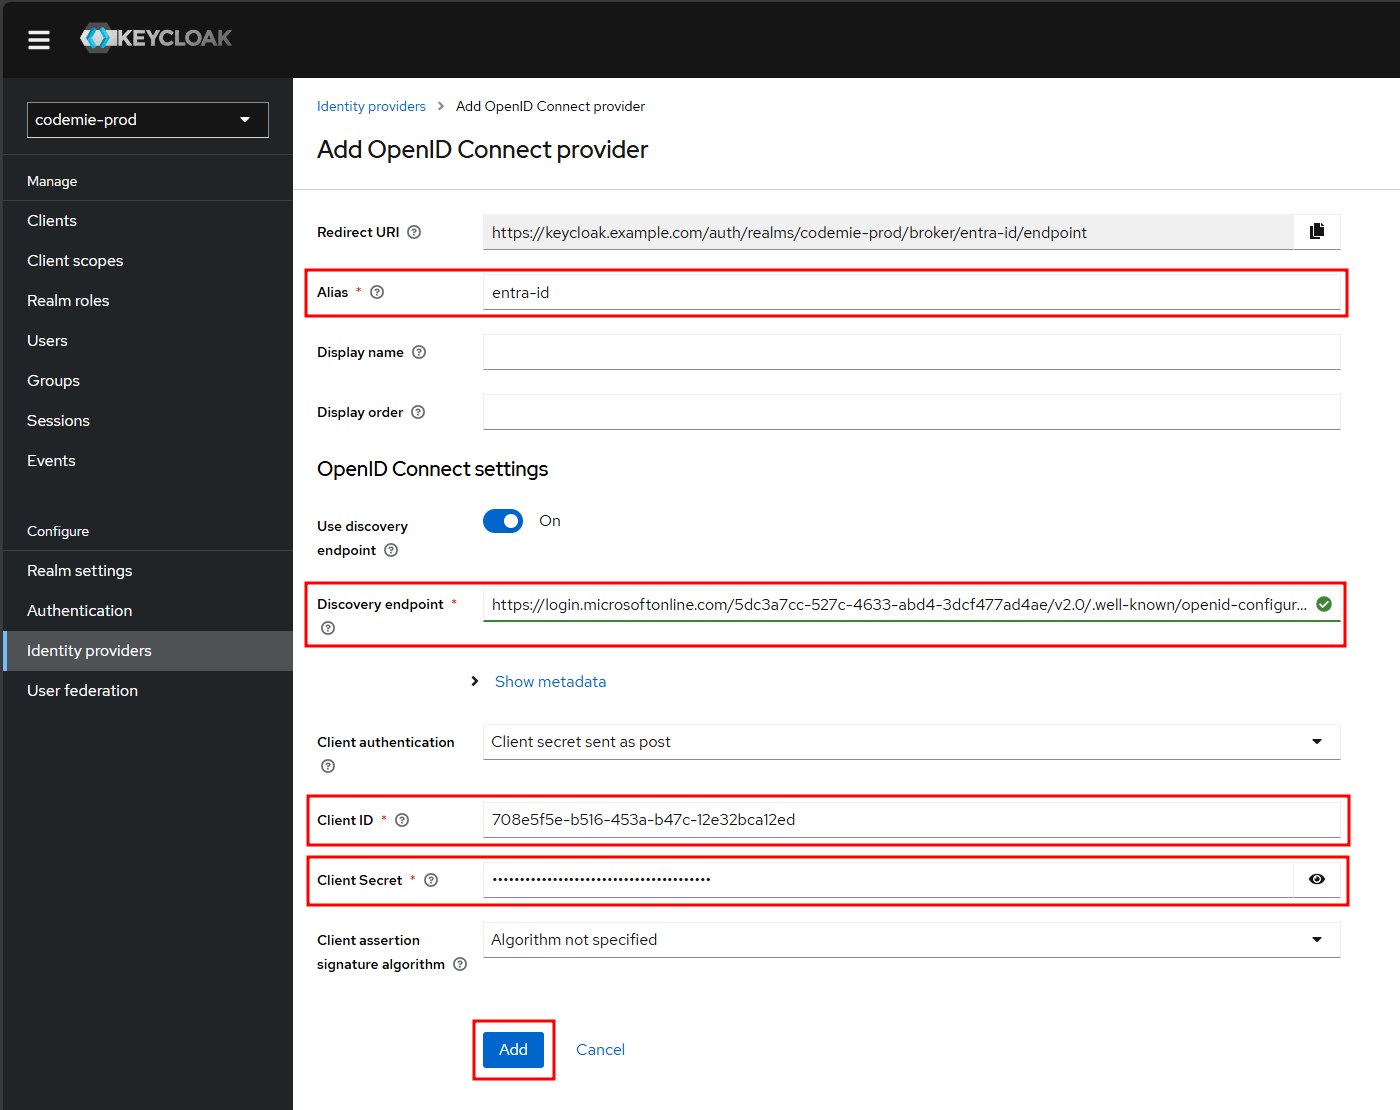
Now, fill in the following fields on the Keycloak page and click Add:
- Alias: A unique name for this provider (e.g.,
entra-id). - Discovery endpoint: Paste the
OpenID Connect metadata documentURL from Azure. - Client ID: Paste the
Application (client) IDfrom Azure. - Client Secret: Paste the client secret
Valueyou saved in Stage 1.
3. Configure the Redirect URI
This step creates the secure link between Keycloak and your Azure app.
Copy the Redirect URI from Keycloak: After adding the provider, Keycloak will display a Redirect URI at the top of its configuration page. Copy this value.

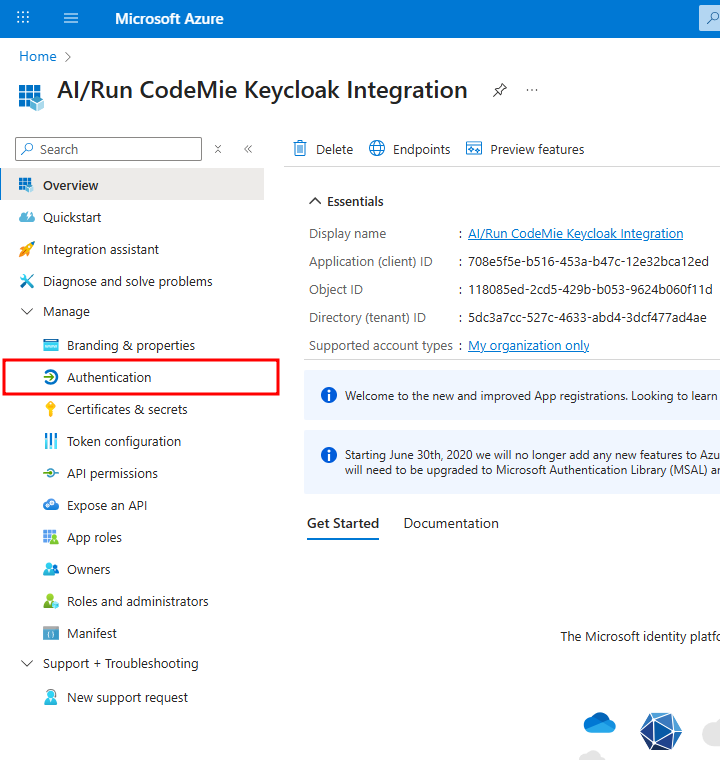
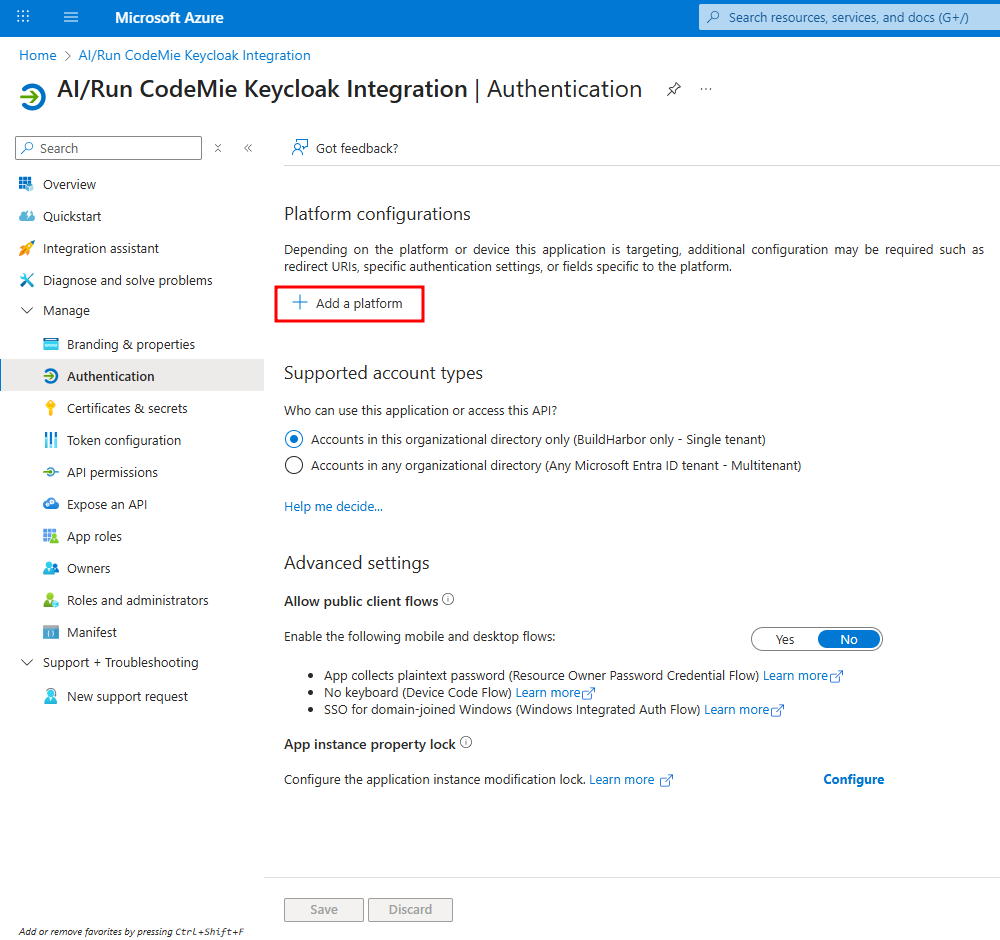
Add a Web Platform in Azure: Go back to your Azure app registration, select the Authentication tab, click Add a platform, and then select Web.

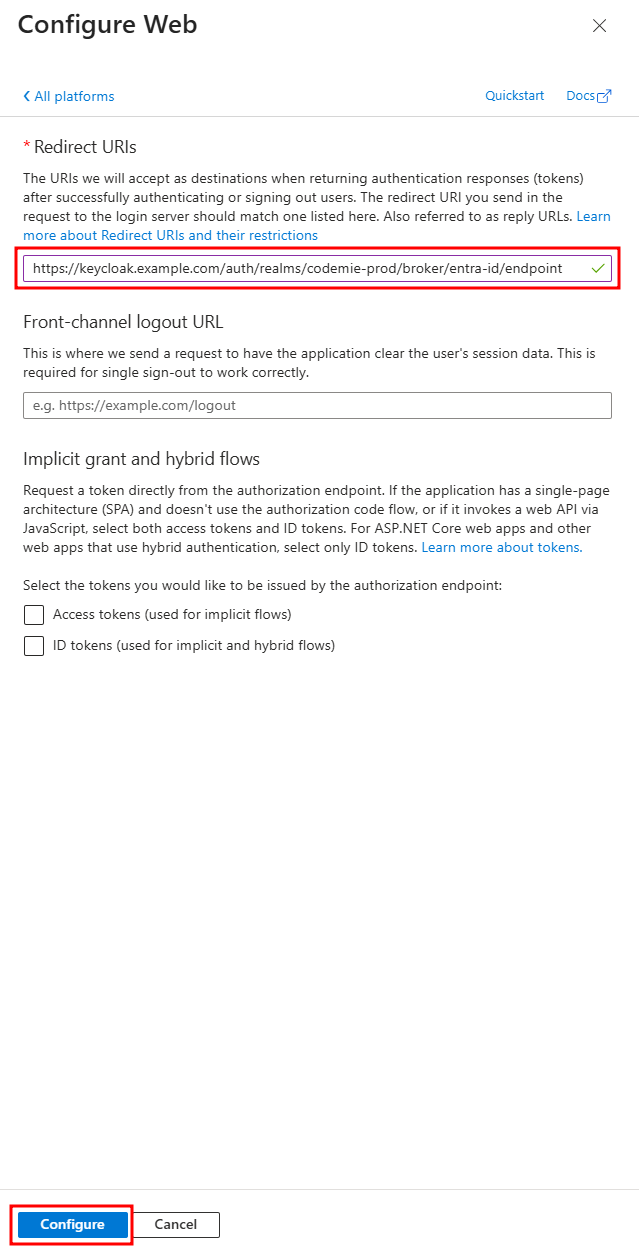
Paste the URI and Save: In the "Redirect URIs" field, paste the URI you copied from Keycloak and click Configure.
4. Automate Permissions with Mappers
This step is mandatory. Without these mappers, new users who sign in via SSO will be created in Keycloak but will not be able to access the platform because they won't have the necessary role and project attributes assigned automatically.
Mappers automate the permission assignment process described in ASK Part 2 by granting default permissions to every new user during their first sign-in.
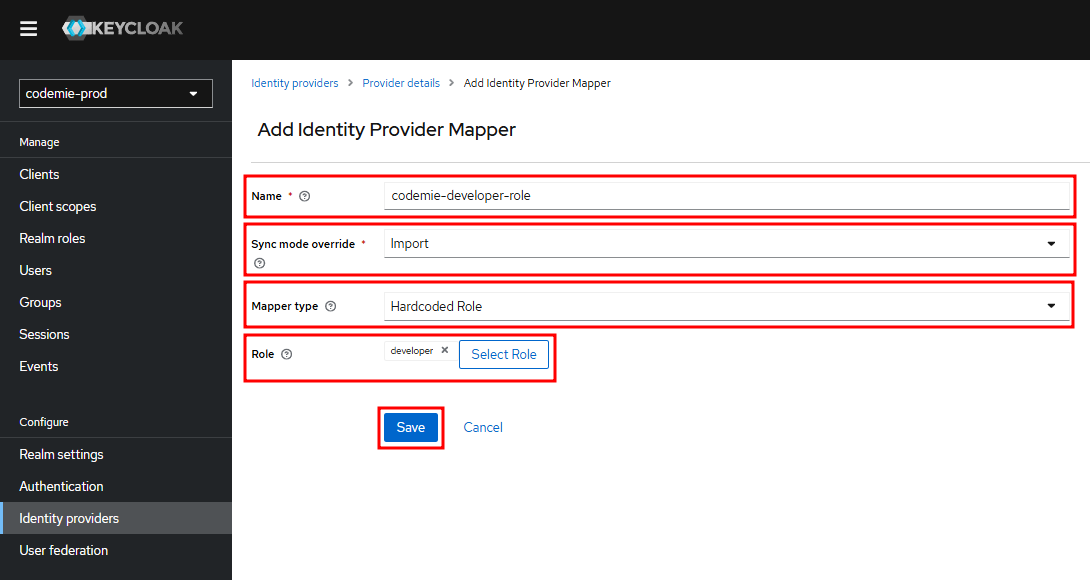
Mapper 1: Assign Default Role (Required)
This mapper automatically assigns the developer role to all new SSO users. For more details, see Step 2.1: Assign a Role.
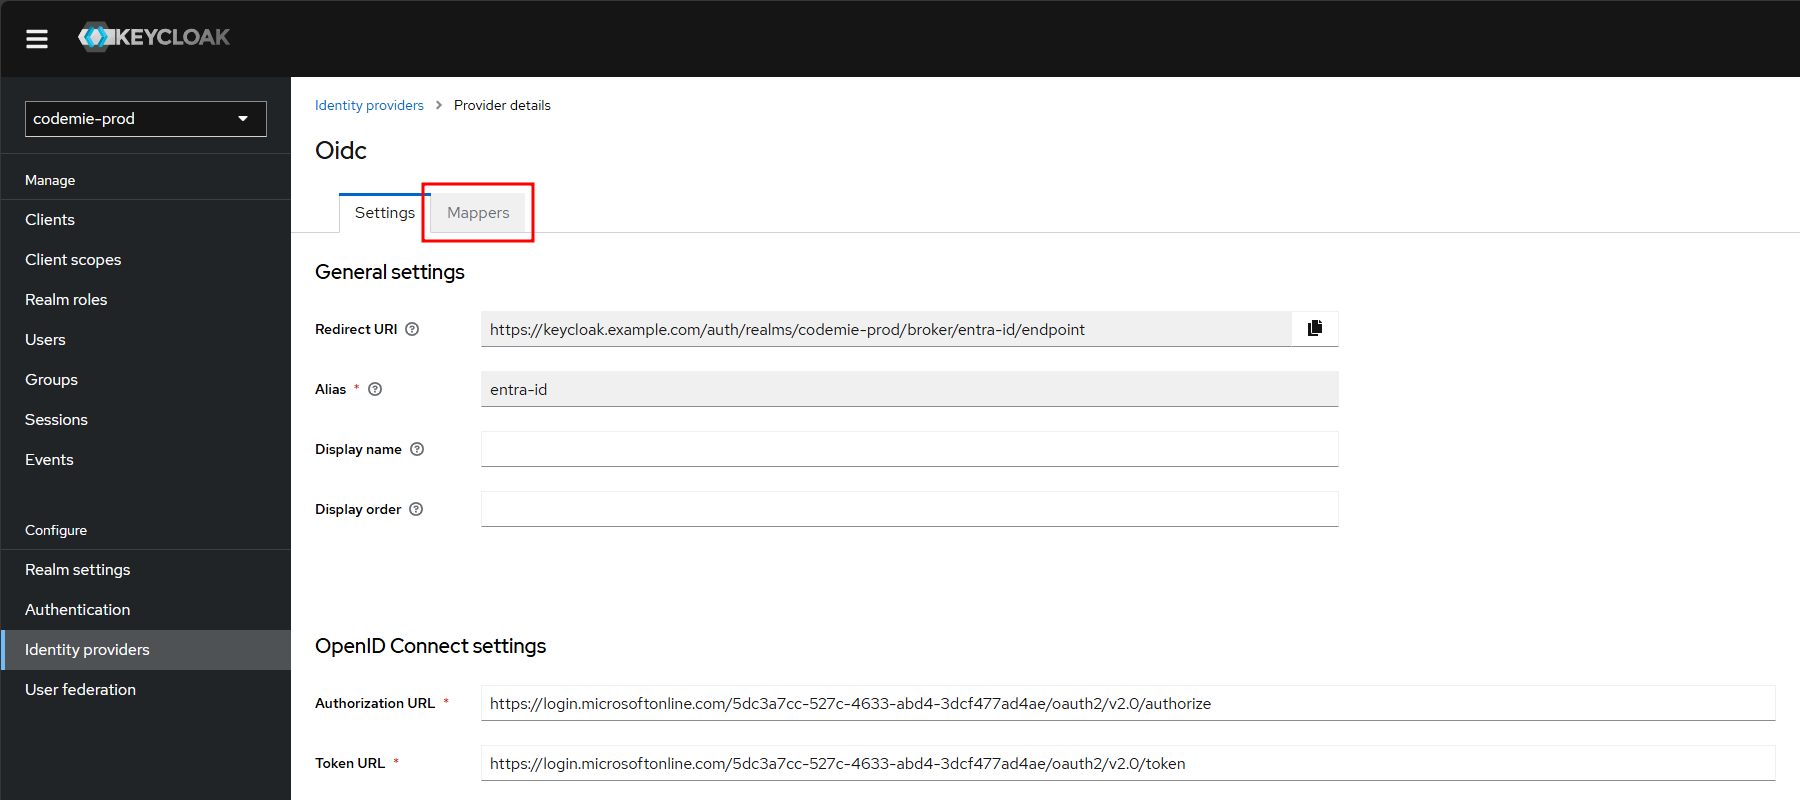
Navigate to the Mappers tab from your Identity Provider's configuration page.
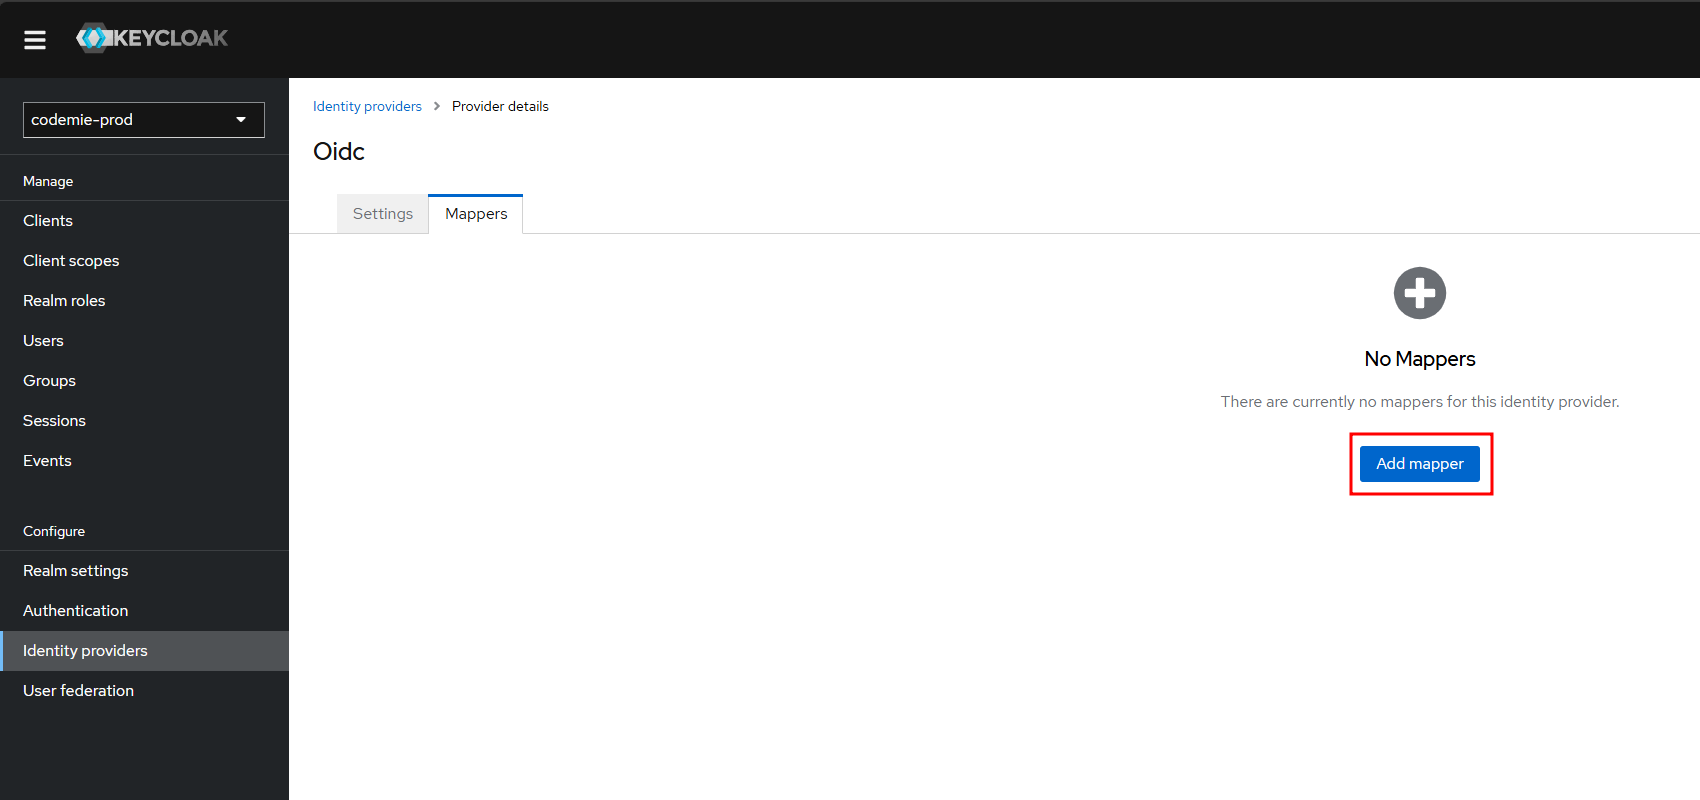
Click Add mapper to open the configuration form.
Configure and save the mapper: Fill in the fields with the following values and then click Save:
- Name:
codemie-developer-role - Sync Mode Override:
Import - Mapper Type:
Hardcoded Role - Role: Select the
developerrole from the list.
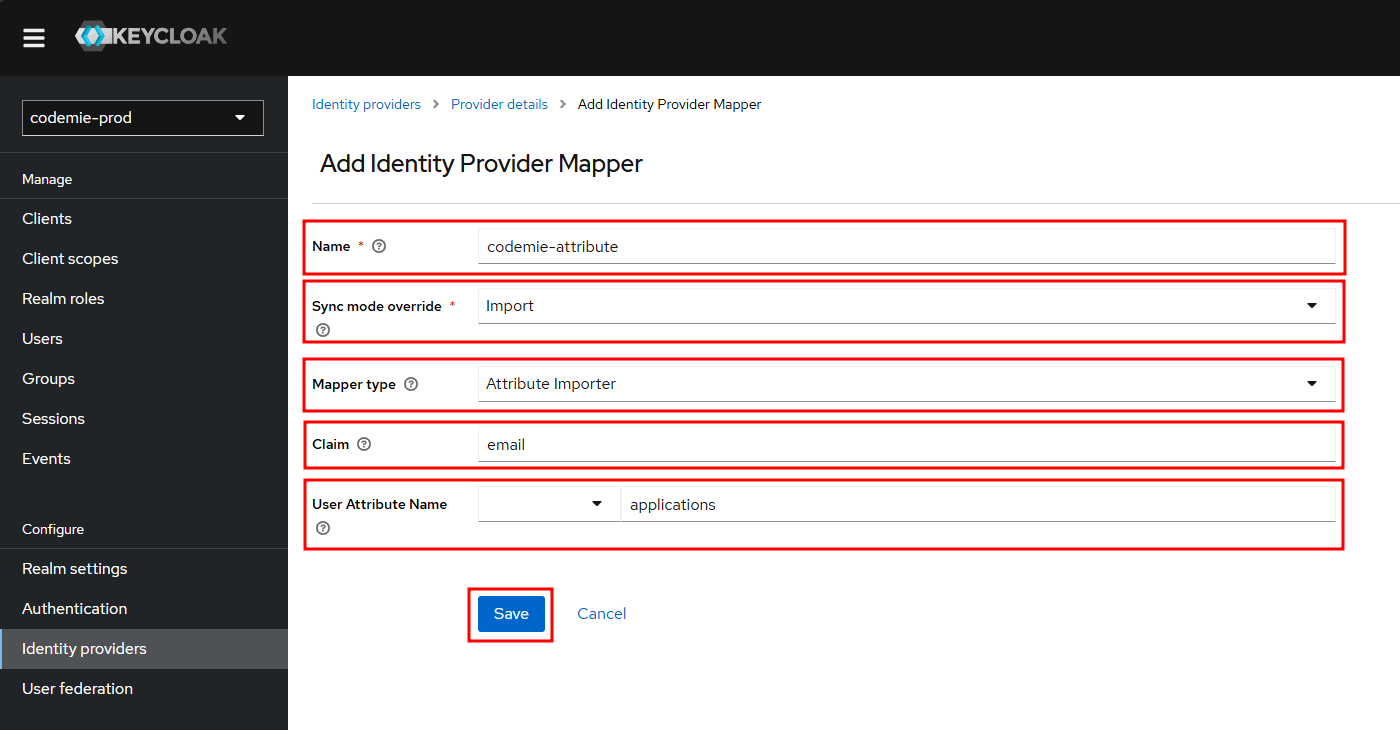
Mapper 2: Assign Default Project (Required)
This mapper automatically creates a personal project for each new user. For more details, see Step 2.2: Assign Attributes.
Navigate back to the Mappers tab and click Add mapper again.
Configure and save the mapper: Fill in the fields with the following values and click Save:
- Name:
codemie-attribute - Sync Mode Override:
Import - Mapper Type:
Attribute Importer - Claim:
email - User Attribute Name:
applications
5. Grant Admin Consent and Verify the Integration
This final step confirms that everything is working correctly. To complete it, you must perform the first login using an Azure Administrator account.
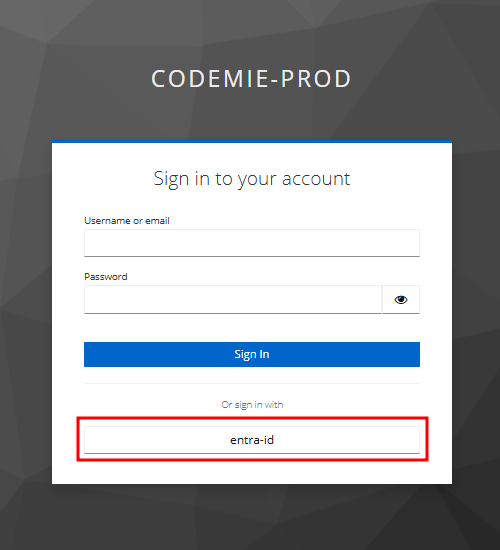
Initiate the First Sign-In: Navigate to the AI/Run CodeMie login page and click the button to sign in with your Entra ID provider.
Authenticate with Microsoft: Sign in using your Azure Administrator credentials.
Provide Admin Consent for the Organization: Microsoft will display a "Permissions requested" dialog. You must check the box labeled "Consent on behalf of your organization" before clicking Accept.
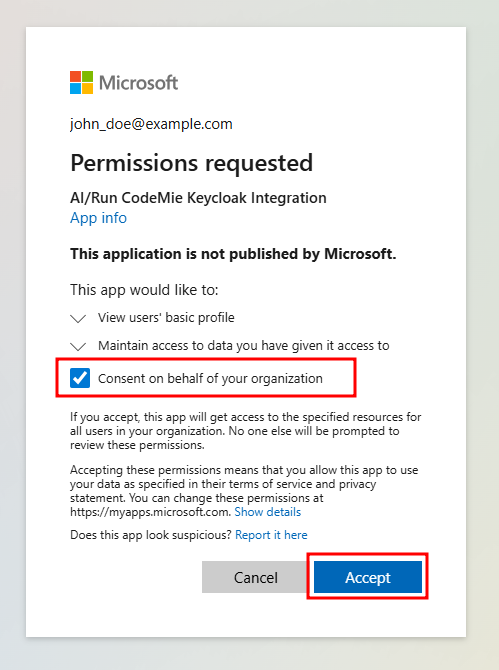
Confirm Successful Login: After accepting, you should be successfully logged in, confirming that the SSO integration and mappers are working correctly.
All new users who sign in via SSO will now be automatically created and granted the default developer role and a personal project. To grant them additional permissions (like Project Administrator access or access to other shared projects), you can now find them in the Keycloak user list and proceed to Part 2: User Authorization to manage their attributes manually.