Add and Index Jira Data Source
Connect and index Jira projects as data sources.
Jira is a powerful project management and issue tracking data source in AI/Run CodeMie, enabling assistants to access project information, track issues, and manage tasks. This guide walks you through the process of adding and indexing Jira projects.
Prerequisites
This data source requires you to have at least one Jira integration added to AI/Run CodeMie. For more details, please refer to the Integrations Overview guidelines.
Before adding a Jira data source, ensure you have:
- Configured Jira integration with API token or personal access token
- Access to the Jira project you want to index
- Appropriate permissions to read Jira issues
- Knowledge of JQL (Jira Query Language) for filtering
Jira data sources require a valid JQL query. Test your JQL in Jira before adding the data source to avoid indexing errors.
Adding a Jira Data Source
To add Jira as a data source with AI/Run CodeMie platform, follow these detailed steps:
Step-by-Step Process
1. Preparation
Before adding a new Jira data source, you need to generate integration with Jira on the Integration tab.
How to create a Jira integration:
- Navigate to the Integrations section
- Add a new Jira integration
- Provide your Jira URL and API token
- Save the integration for use in data sources
Refer to the Integrations Overview guidelines for detailed integration setup instructions.
2. Navigate to Data Sources
Navigate to the Data Sources section in AI/Run CodeMie.
3. Create New Data Source
Click the + Create Datasource button and add all required data according to recommendations.
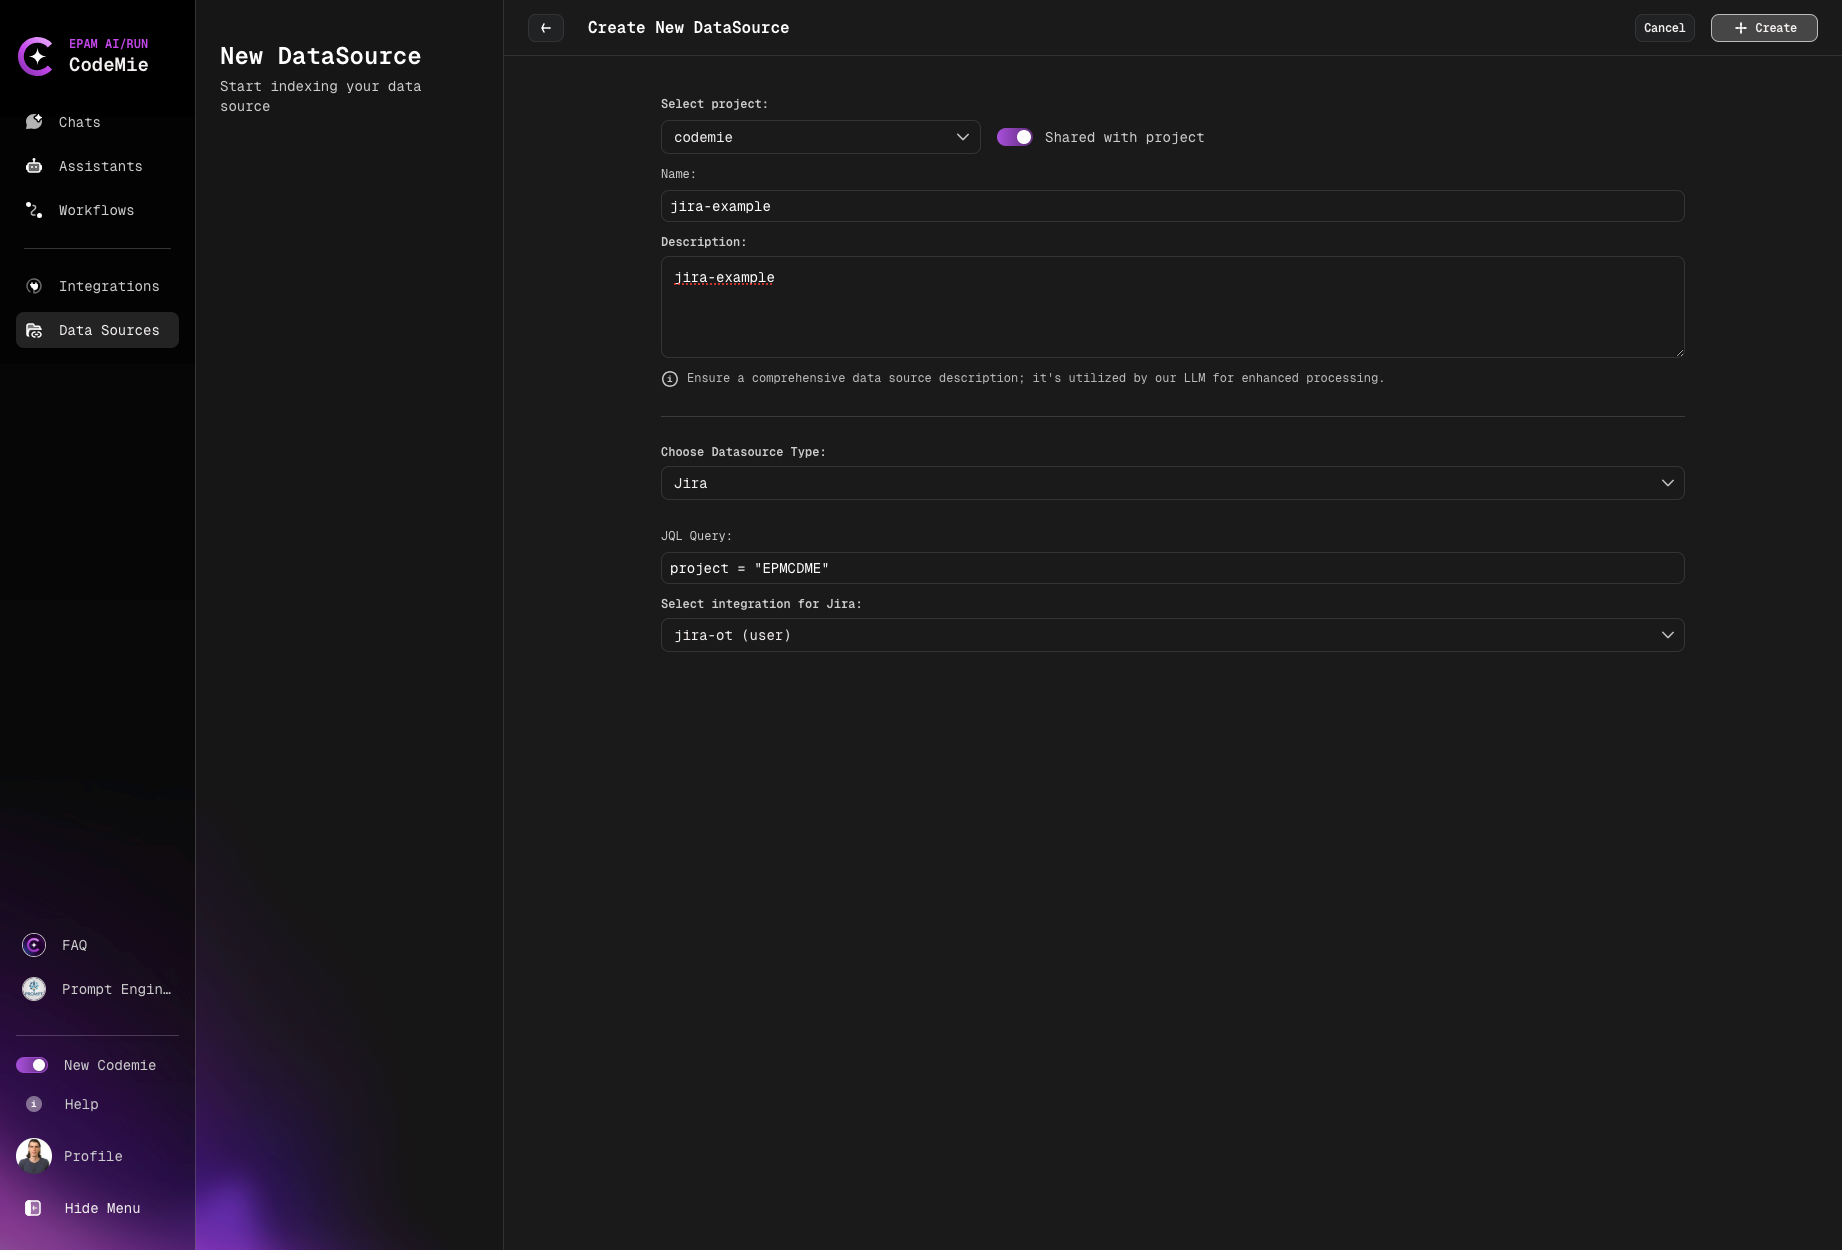
4. Select Source Type
- Select Project: Select the name of the project with which you want to associate that DataSource.
- Name: Alias for file for quick search in datasource list.
- Description: Description for this datasource
- Choose Datasource Type: Jira source type in the add new data source window.
- JQL Query: Add JQL expressions to filter the data you want to index. This field is required.
- Select integration for Jira: Choose integration.
Common JQL Example:
project = "projectKey" AND assignee = "John Doe"
- Use
project = KEYto index entire projects - Add
AND status != Doneto exclude completed issues - Use
AND created >= -30dto index recent issues only
This example filters:
- Issues in the projectKey project
- Assigned to John Doe
For more information on writing JQL expressions, refer to the Atlassian JQL documentation.
Error Handling for Jira Data Sources
Common Errors
Incorrect JQL Expression
Symptom: Error message appears at the top of the Add data source window

Cause: The JQL expression syntax is invalid or references non-existent projects/fields
Solutions:
- Verify JQL syntax is correct
- Check that project keys are spelled correctly
- Ensure field names exist in your Jira instance
- Test JQL in Jira search before using in AI/Run CodeMie
- Simplify complex expressions to identify the issue
Example of common JQL mistakes:
# ❌ Incorrect - Project key without quotes when containing spaces
project = My Project AND type = Bug

# ✅ Correct - Project key with quotes
project = "My Project" AND type = Bug

# ❌ Incorrect - Invalid field name
project = projectKey AND issueType = Bug

# ✅ Correct - Valid field name
project = projectKey AND type = Bug

# ❌ Incorrect - Wrong operator
project = projectKey AND status EQUALS "In Progress"

# ✅ Correct - Correct operator
project = projectKey AND status = "In Progress"
=: equals!=: not equalsIN: matches any value in a list>,<,>=,<=: comparison operators~: contains (text search)
Expired Authorization Token
Cause: The API token used in the Jira integration has expired or been revoked
Solutions:
- Navigate to the Integrations section
- Locate your Jira integration
- Generate a new API token in Jira
- Update the integration with the new token
- Retry creating the data source
Connection Timeout
Cause: Cannot establish connection to Jira server
Solutions:
- Check network connectivity to Jira
- Verify Jira URL is correct in integration
- Ensure Jira server is accessible
- Review firewall settings
- Try again after a few minutes
Permission Denied
Cause: Insufficient access to Jira project or issues
Solutions:
- Verify integration has read access to the project
- Check Jira project permissions
- Ensure API token has appropriate scopes
- Request access from Jira project administrator
Now your Jira projects are configured as data sources and ready to enhance your assistants with project and issue tracking knowledge.