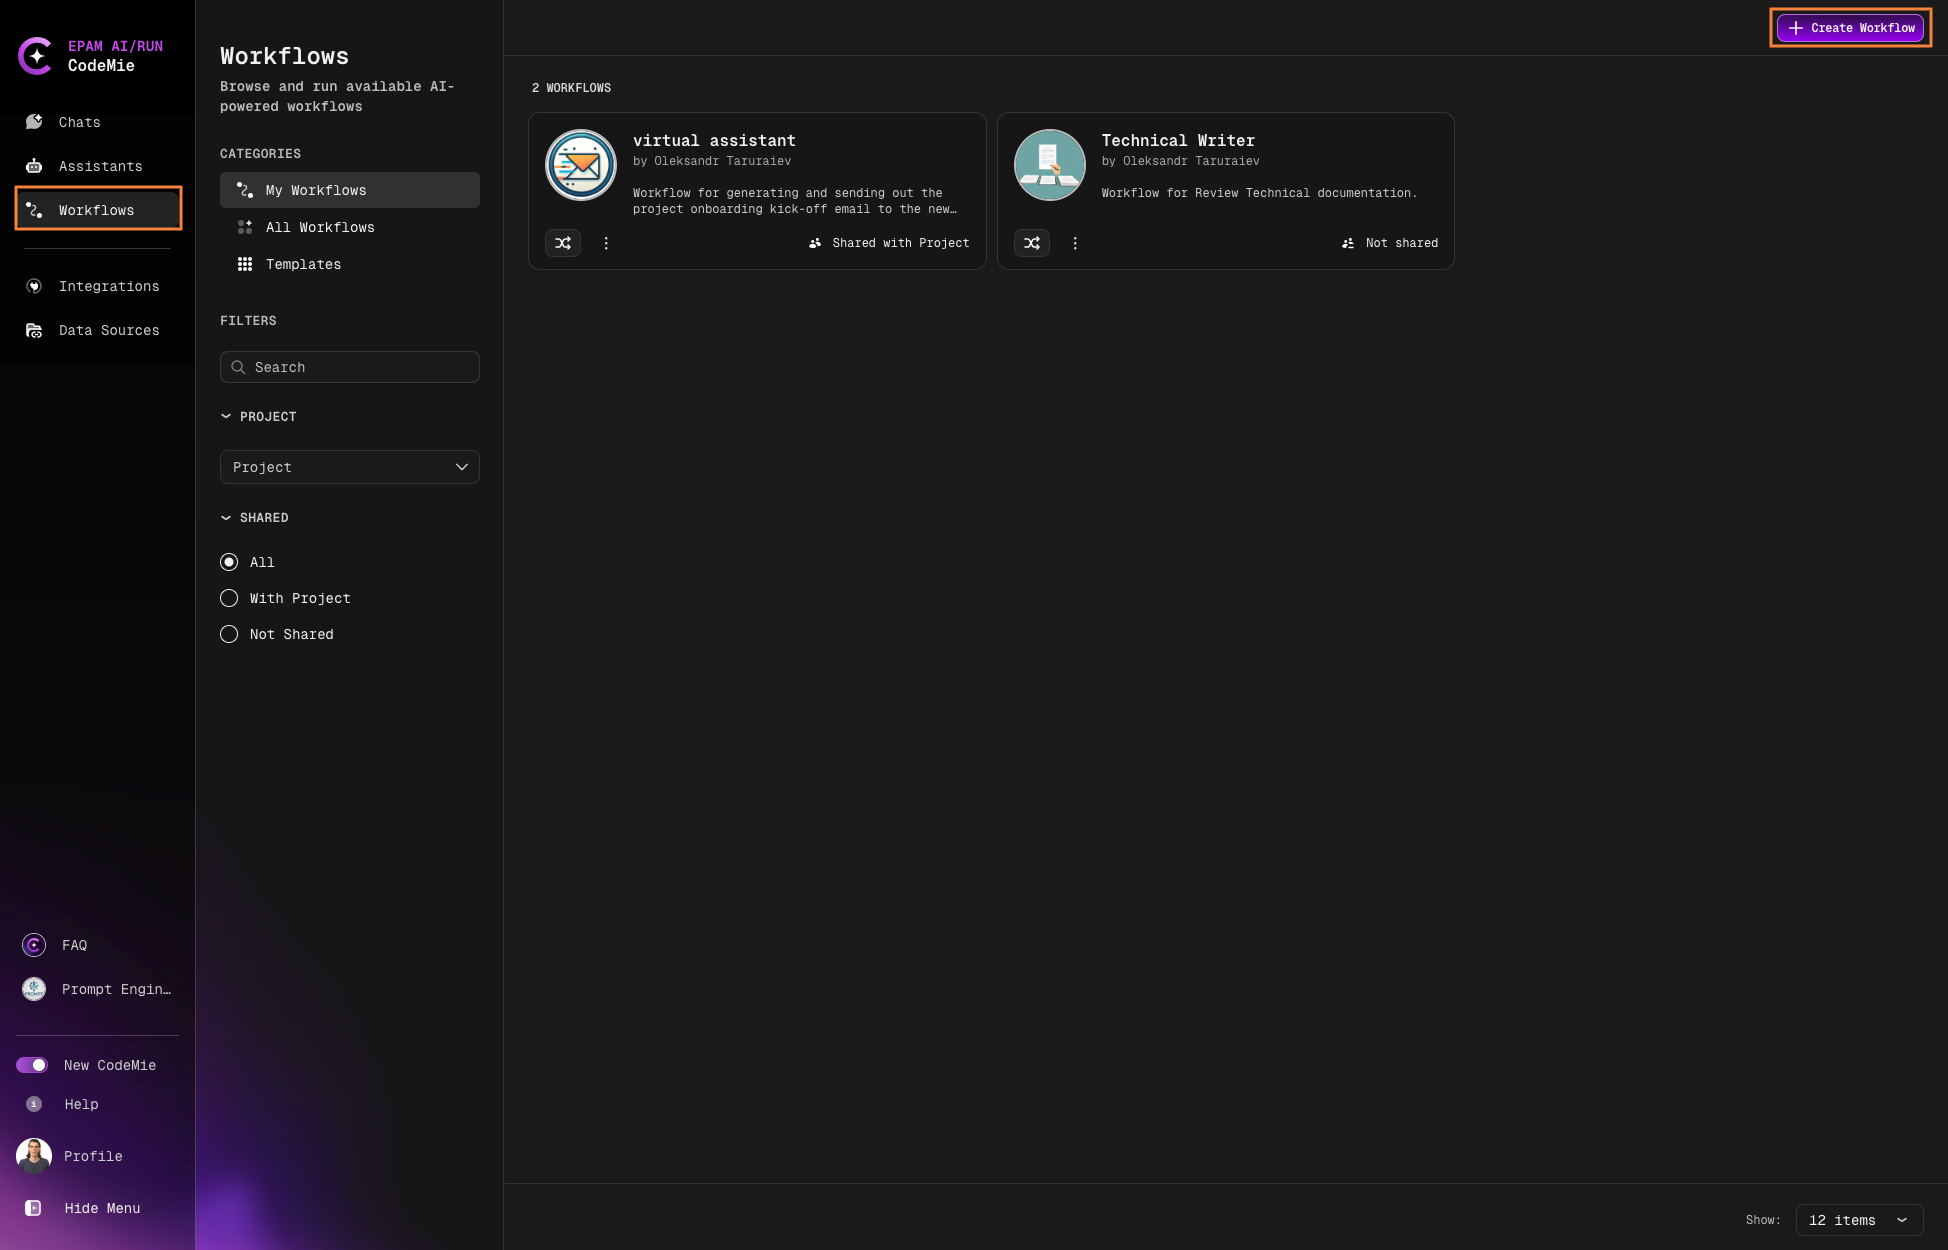
Create Workflow
Before creating a workflow, ensure you have:
- A clear vision of the workflow's purpose
- Set up and configured the assistants that will be involved
Creating a New Workflow
-
Navigate to the Workflows section and click + Create Workflow:
-
Configure the workflow settings:
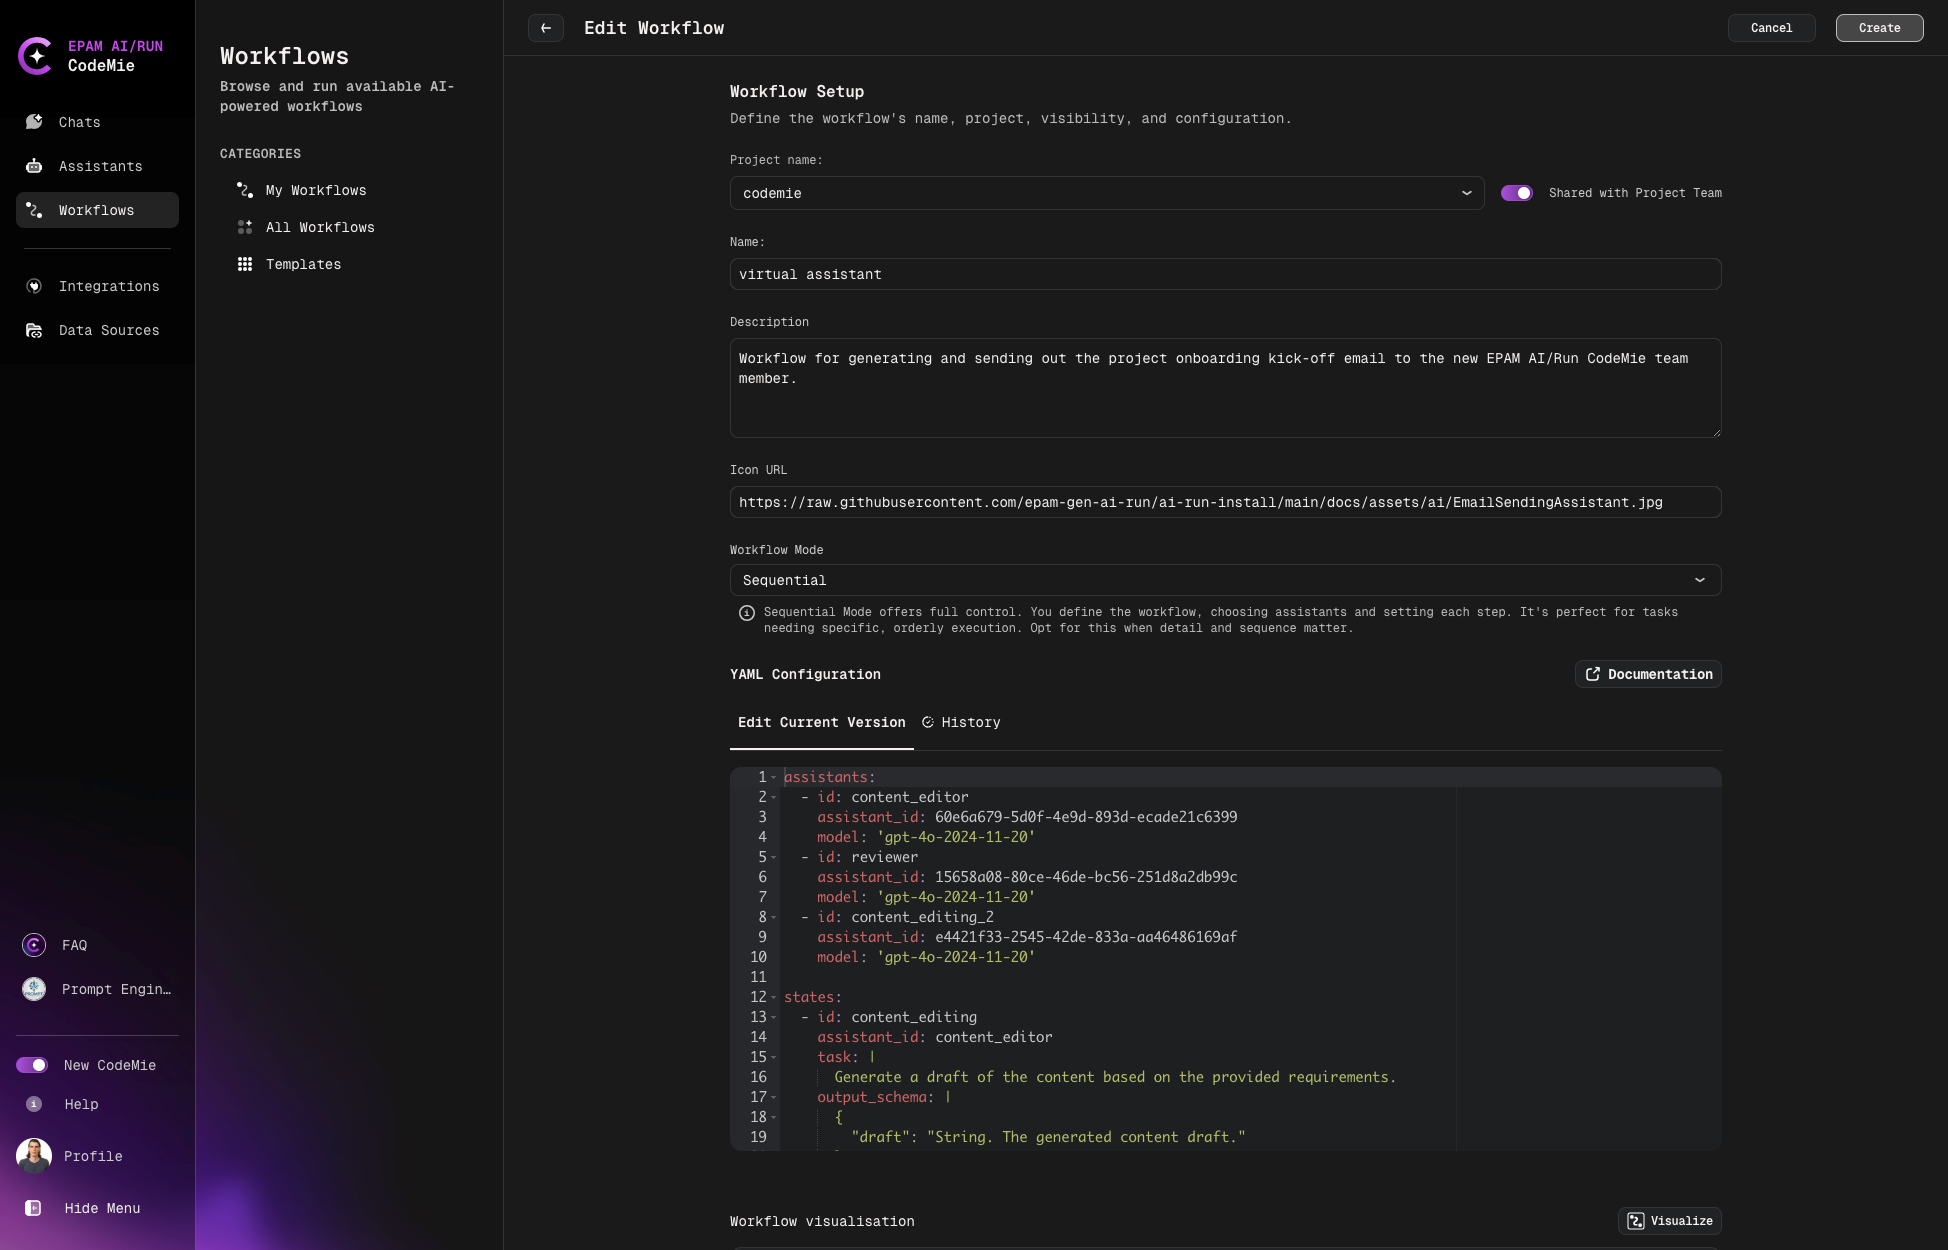
Workflow Configuration Fields
| Field | Description |
|---|---|
| Project | Your AI/Run CodeMie project (pre-populated by default) |
| Shared with Project Team | Enable to allow teammates to view and use the workflow |
| Name | Unique name for the workflow |
| Description | Brief description of the workflow's features and purpose |
| Icon URL | URL to an icon image for the workflow avatar |
| Workflow Mode | Sequential or Autonomous mode (see below) |
| Supervisor Prompt | Global context shared across all assistants; can include variables like date, time, etc. |
Workflow Modes
Choose between two execution modes:
Sequential Mode
- Offers full control over workflow execution
- You define each step, selecting assistants and setting the order
- Best for tasks requiring specific, orderly execution
- Recommended when detail and sequence are critical
Autonomous Mode
- Simplified workflow creation
- AI automatically selects assistants and manages states
- Adapts to your needs for a seamless experience
- Ideal for efficiency without manual setup
YAML Configuration Structure
For Sequential Mode workflows, configure the workflow behavior using YAML.
Assistants Section
Define the assistants that will participate in the workflow:
| Field | Required | Description |
|---|---|---|
id | Yes | Unique identifier for the assistant in this configuration |
assistant_id | Yes | AI/Run CodeMie assistant ID |
model | No | Override the default model for this assistant |
States Section
Define the workflow states and their execution logic:
| Field | Required | Description |
|---|---|---|
id | Yes | Unique identifier for the state |
assistant_id | Yes | ID of the assistant handling this state |
task | Yes | Multi-line string describing the task to perform |
output_schema | No | JSON schema defining expected output structure |
next | Yes | Configuration for state transition |
Next State Configuration
| Field | Required | Description |
|---|---|---|
state_id | No* | ID of the next state (*not required if using condition) |
iter_key | No | Key from output_schema for iteration |
condition | No | Conditional logic with expression, then, and otherwise |
Configuration Guidelines
- All
idfields must be unique within their respective sections output_schemamust be valid JSON schema- When using
iter_key, ensure it matches a key inoutput_schema - Use
conditionin thenextfield for branching logic based on state output
Configuration Example
assistants:
  - id: lister
    assistant_id: 18125c76-a67d-4fd9-b849-5c44277e302c
    model: 'gpt-4o'

  - id: scraper
    assistant_id: d61a51e5-b8e5-4ce8-977d-c1364fcd5b1a
    model: 'gpt-4o'

states:
  - id: scraper
    assistant_id: scraper
    task: |
      Show me all the tickets for the current sprint in the EPMDEDP project.
      Must be at least 20 items large.
    next:
      state_id: lister

  - id: lister
    assistant_id: lister
    task: |
      Of all the tickets provided, list me those that are assigned to <Name> <Surname>
    output_schema: |
      {
        "success": "If you receive a list of tickets, return count, otherwise return false",
        "comment_body": "Return the answer of the assistant"
      }
    next:
      state_id: end
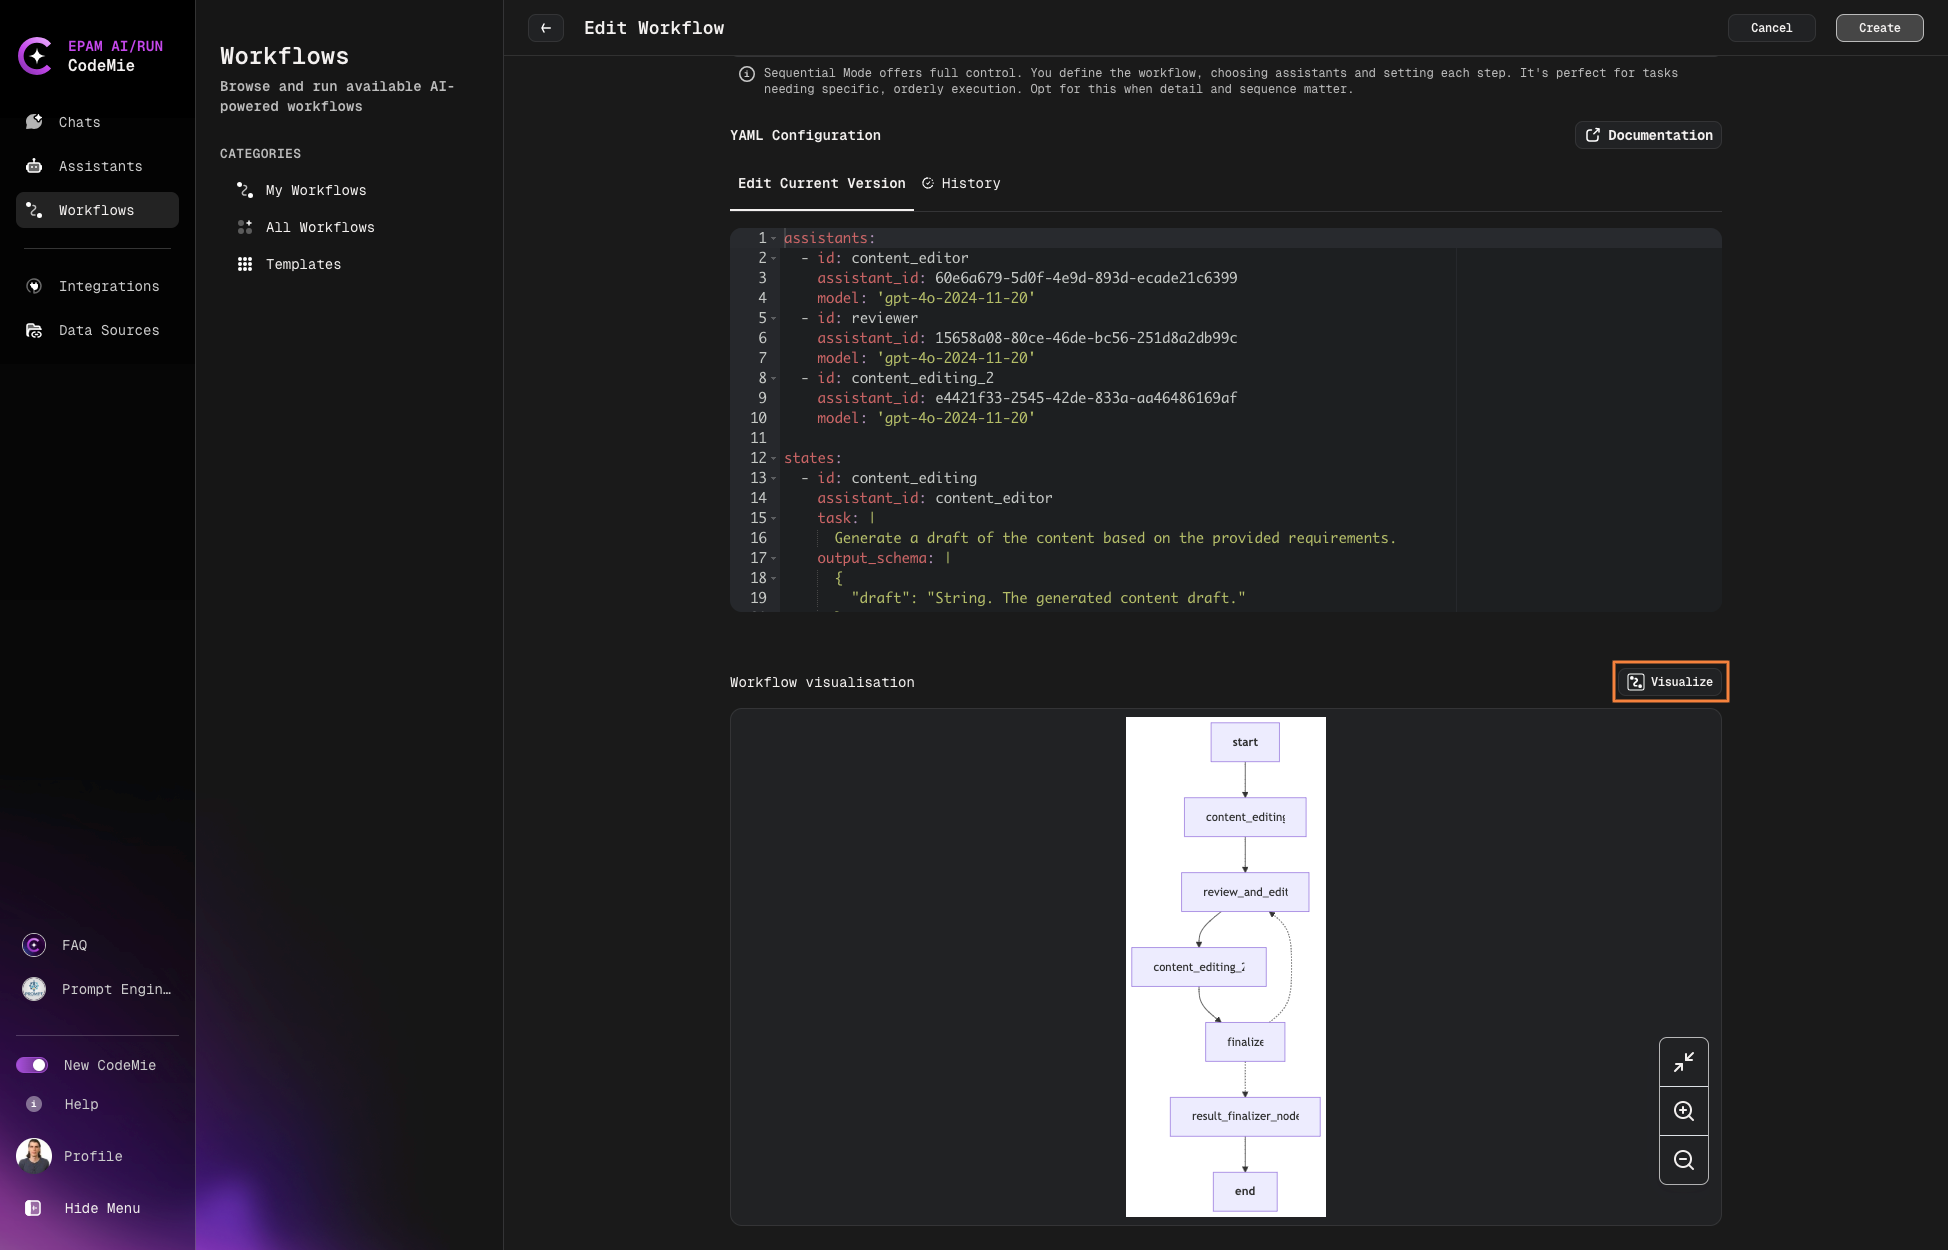
Workflow Visualization
After configuring your workflow, click the Visualize button to see a graphical representation of the workflow states and transitions:
- Click Update to save your workflow configuration.